Inspect Skins 2.0 - Christmas Gift From BitSkins!
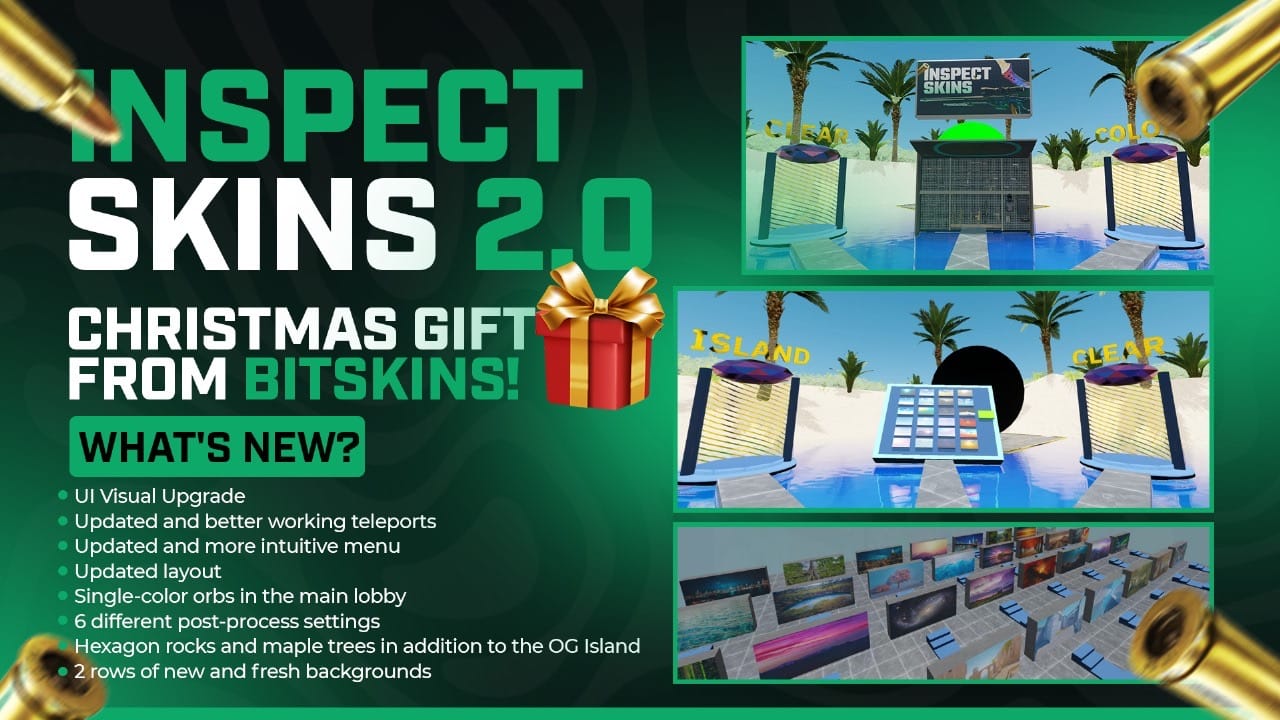
The “Inspect Skins” map, which we launched on November 4, 2023, has been popular until now. Collaboration with Epidemic benefited everyone, especially all skin enthusiasts, who received a ready-made map and tools to inspect skins at will! Almost 130,000 downloads, positive ratings in the Steam Workshop and your words are a clear message that you liked what we prepared for you.
The ultimate Skin Inspect map Skins are a huge part of the Counter-Strike legacy. That's why we have decided to prepare the ultimate skin inspect map for Counter-Strike 2 (CS2).
We know that you are eager to use the map and spend a lot of time on it, so to honor your commitment and passion for skins, we are coming with something as a Christmas gift to the whole community!
Inspect Skins 2.0, is a new, improved and better version of what you already know. The map has not only undergone a major redesign, but has also been enhanced with a number of new features that will allow you to do even more.
Old VS New
The old map served well, but it was time for a breath of fresh air. A brief summary of what we could find on the old map:
- Main menu
- Background menu (48 backgrounds)
- Island
- Colors menu
- Clear view





What's new?!
The new map is not only more options and wider customization options, but also a refreshed look and new design!
What have changed:
- UI Visual Upgrade
- Updated and better working teleports
- Updated and more intuitive menu
- Updated layout
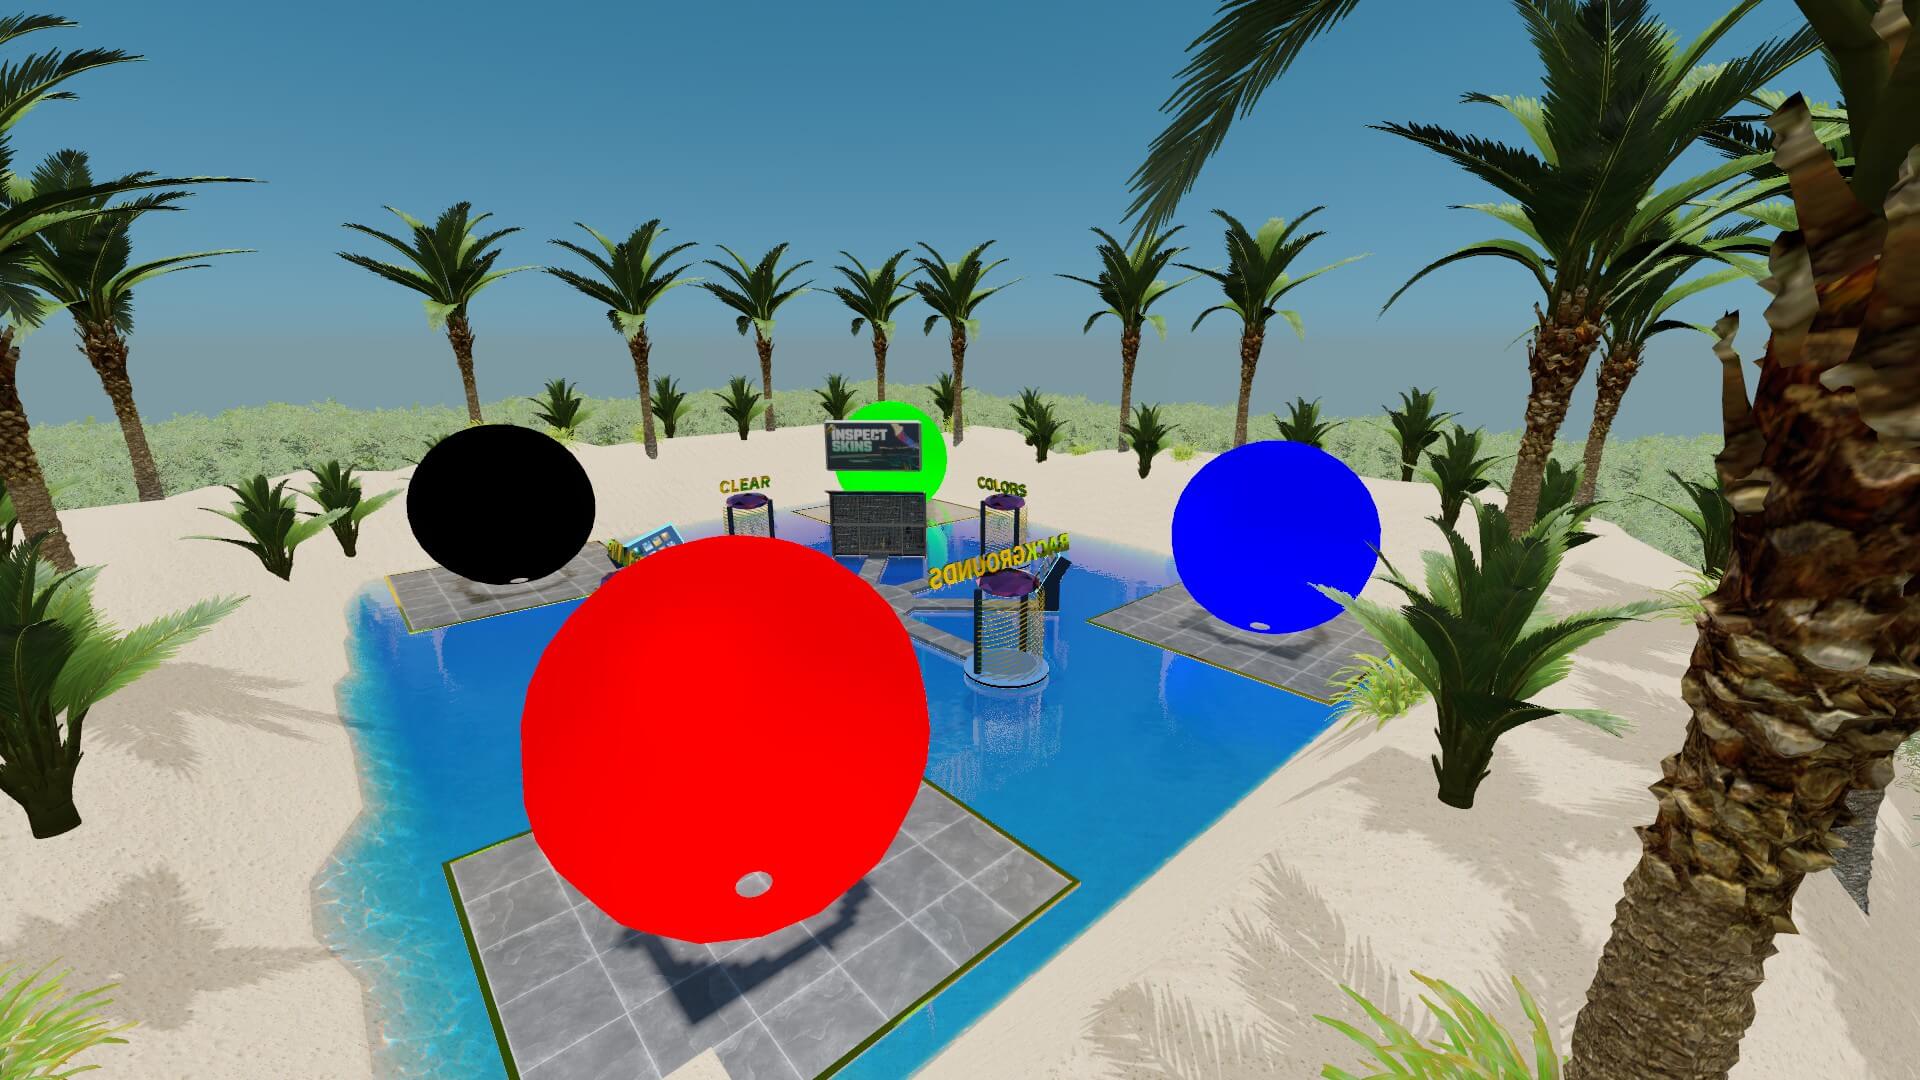
- Single-color orbs in the main lobby
- 6 different post-process settings
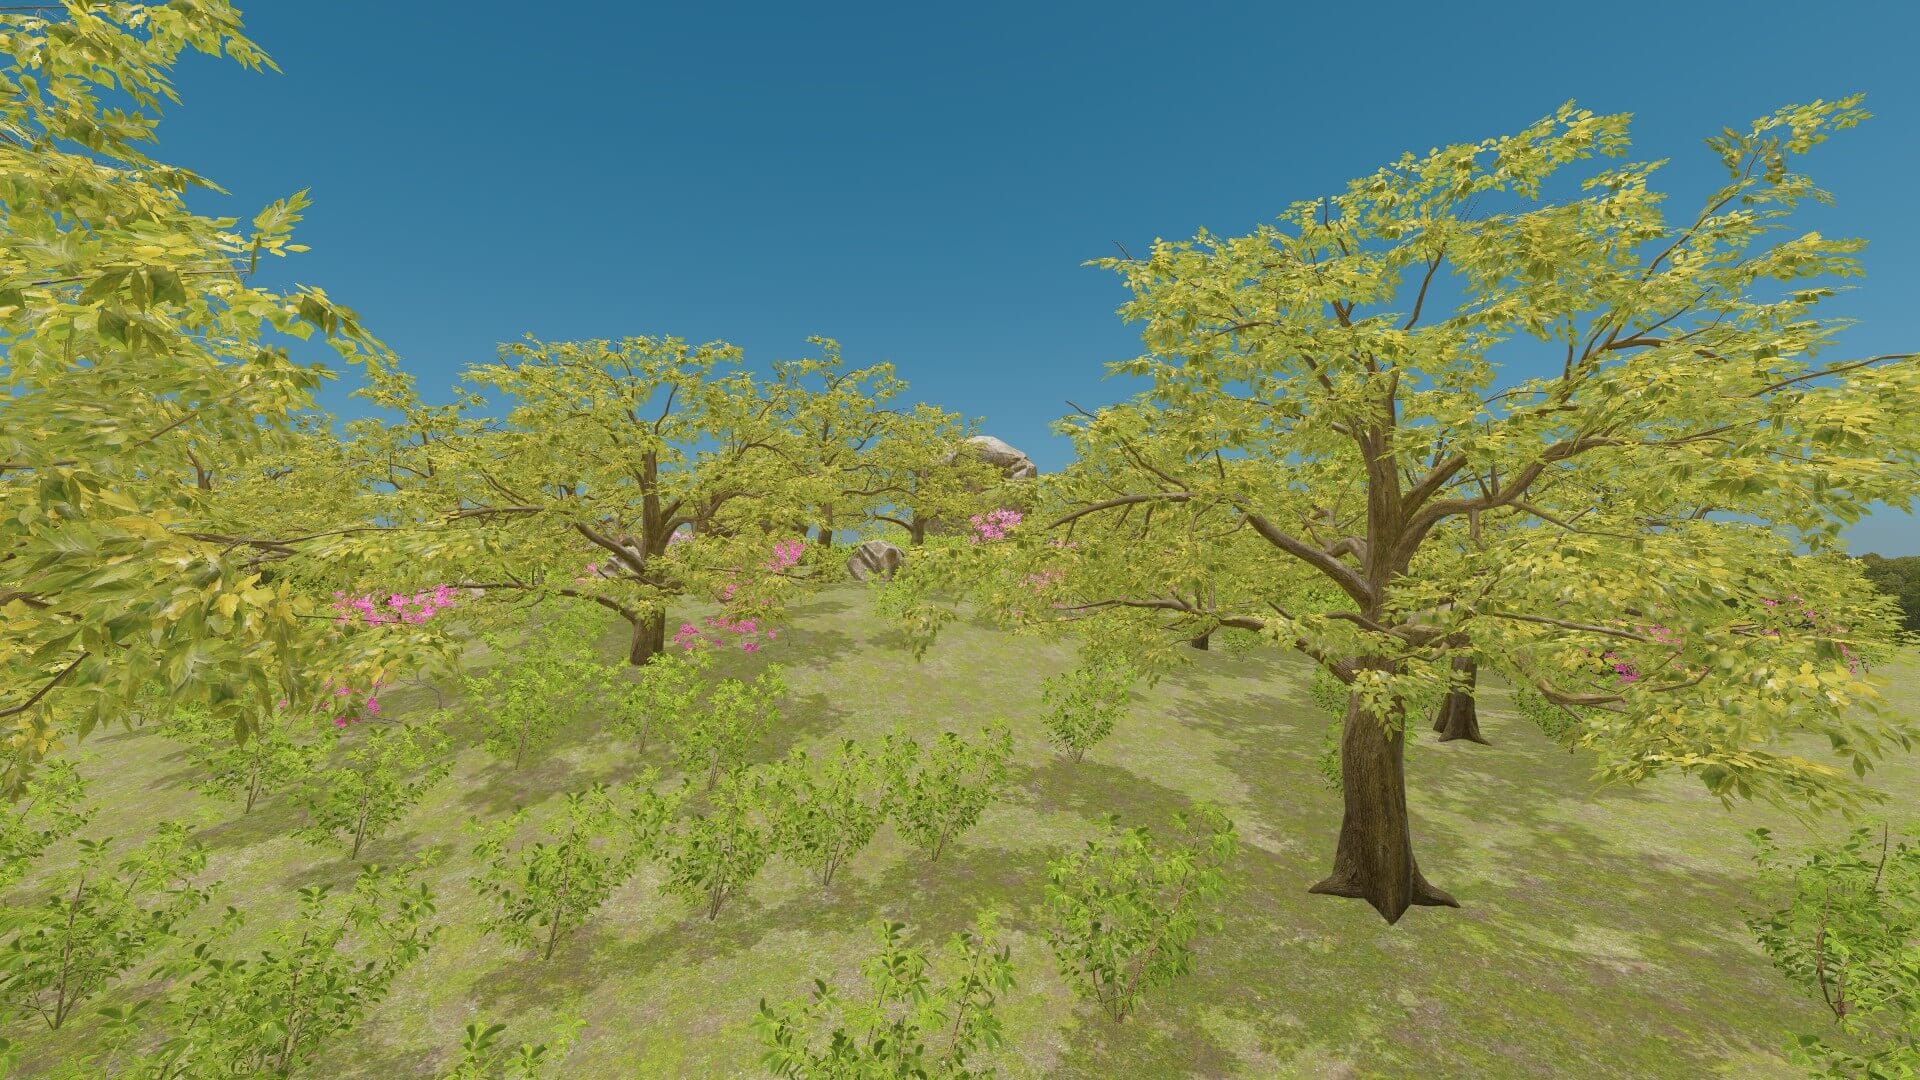
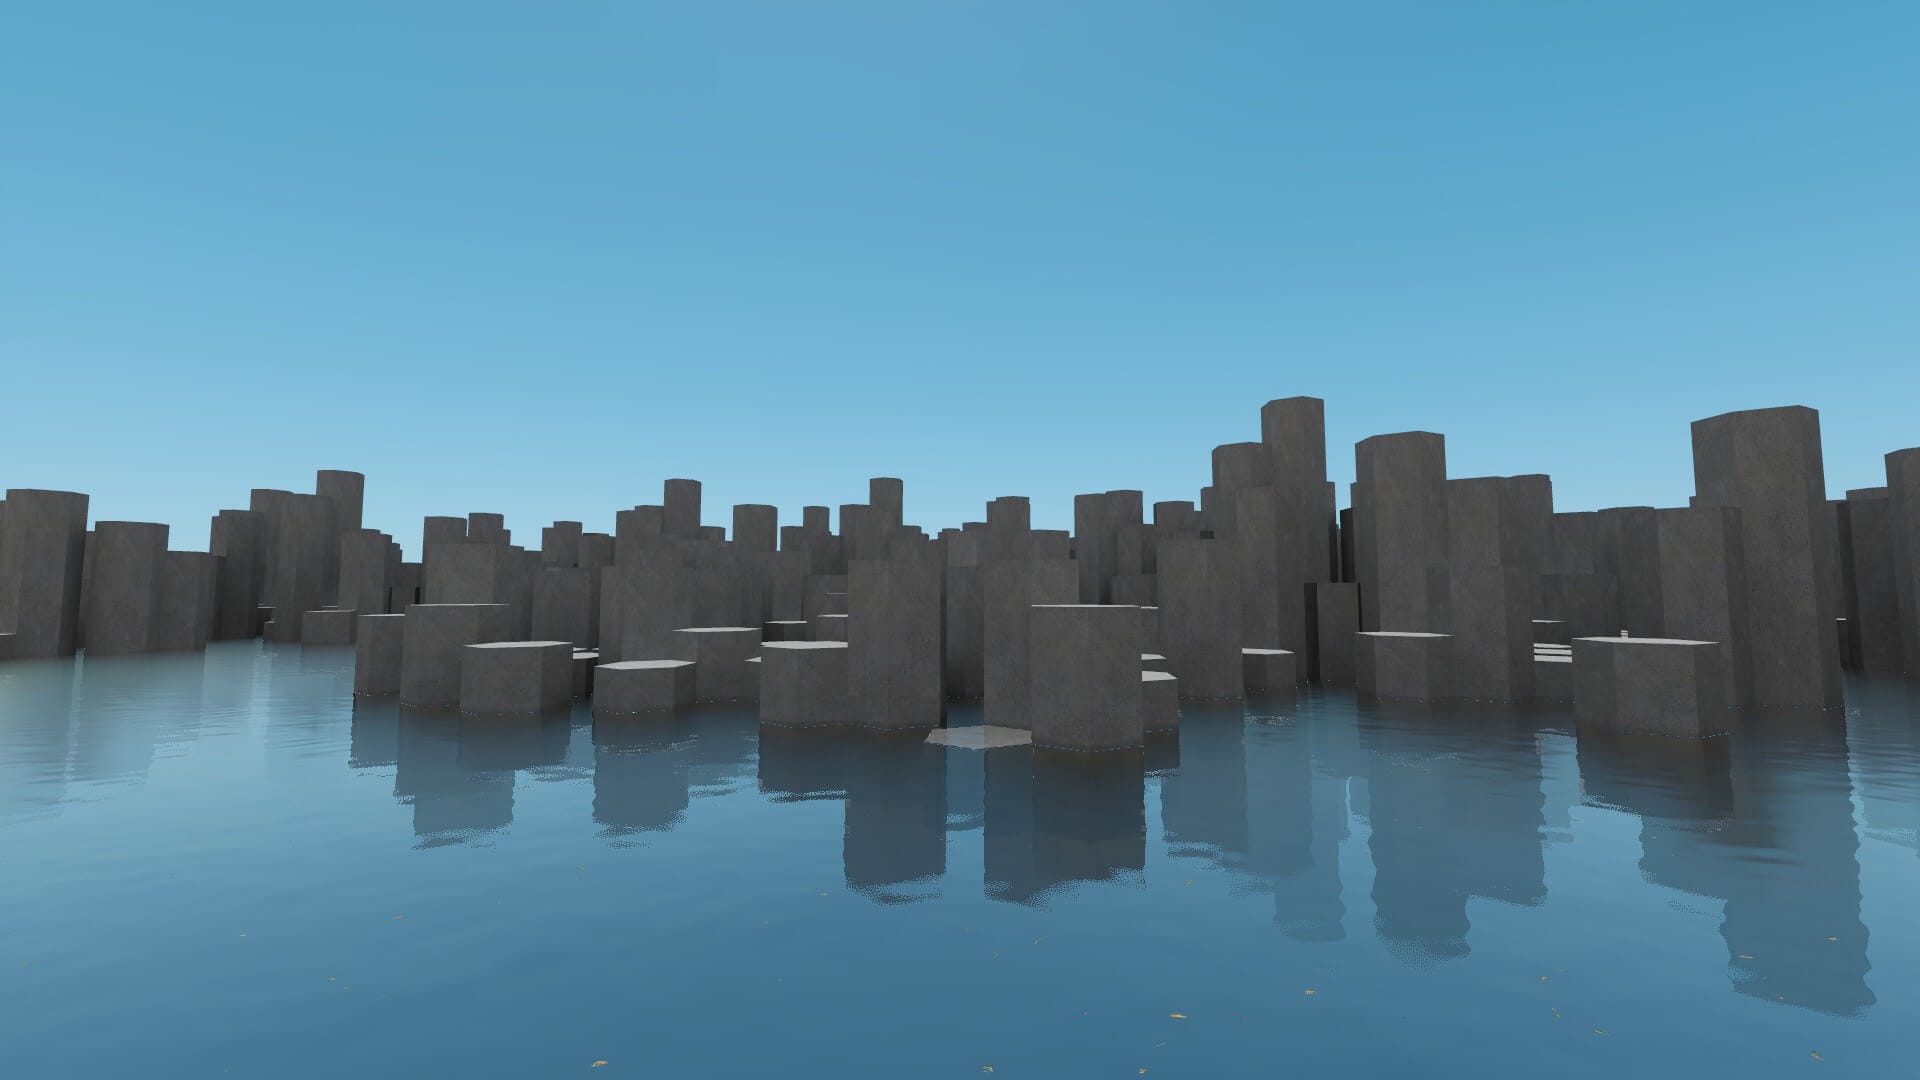
- Hexagon rocks and maple trees in addition to the OG Island
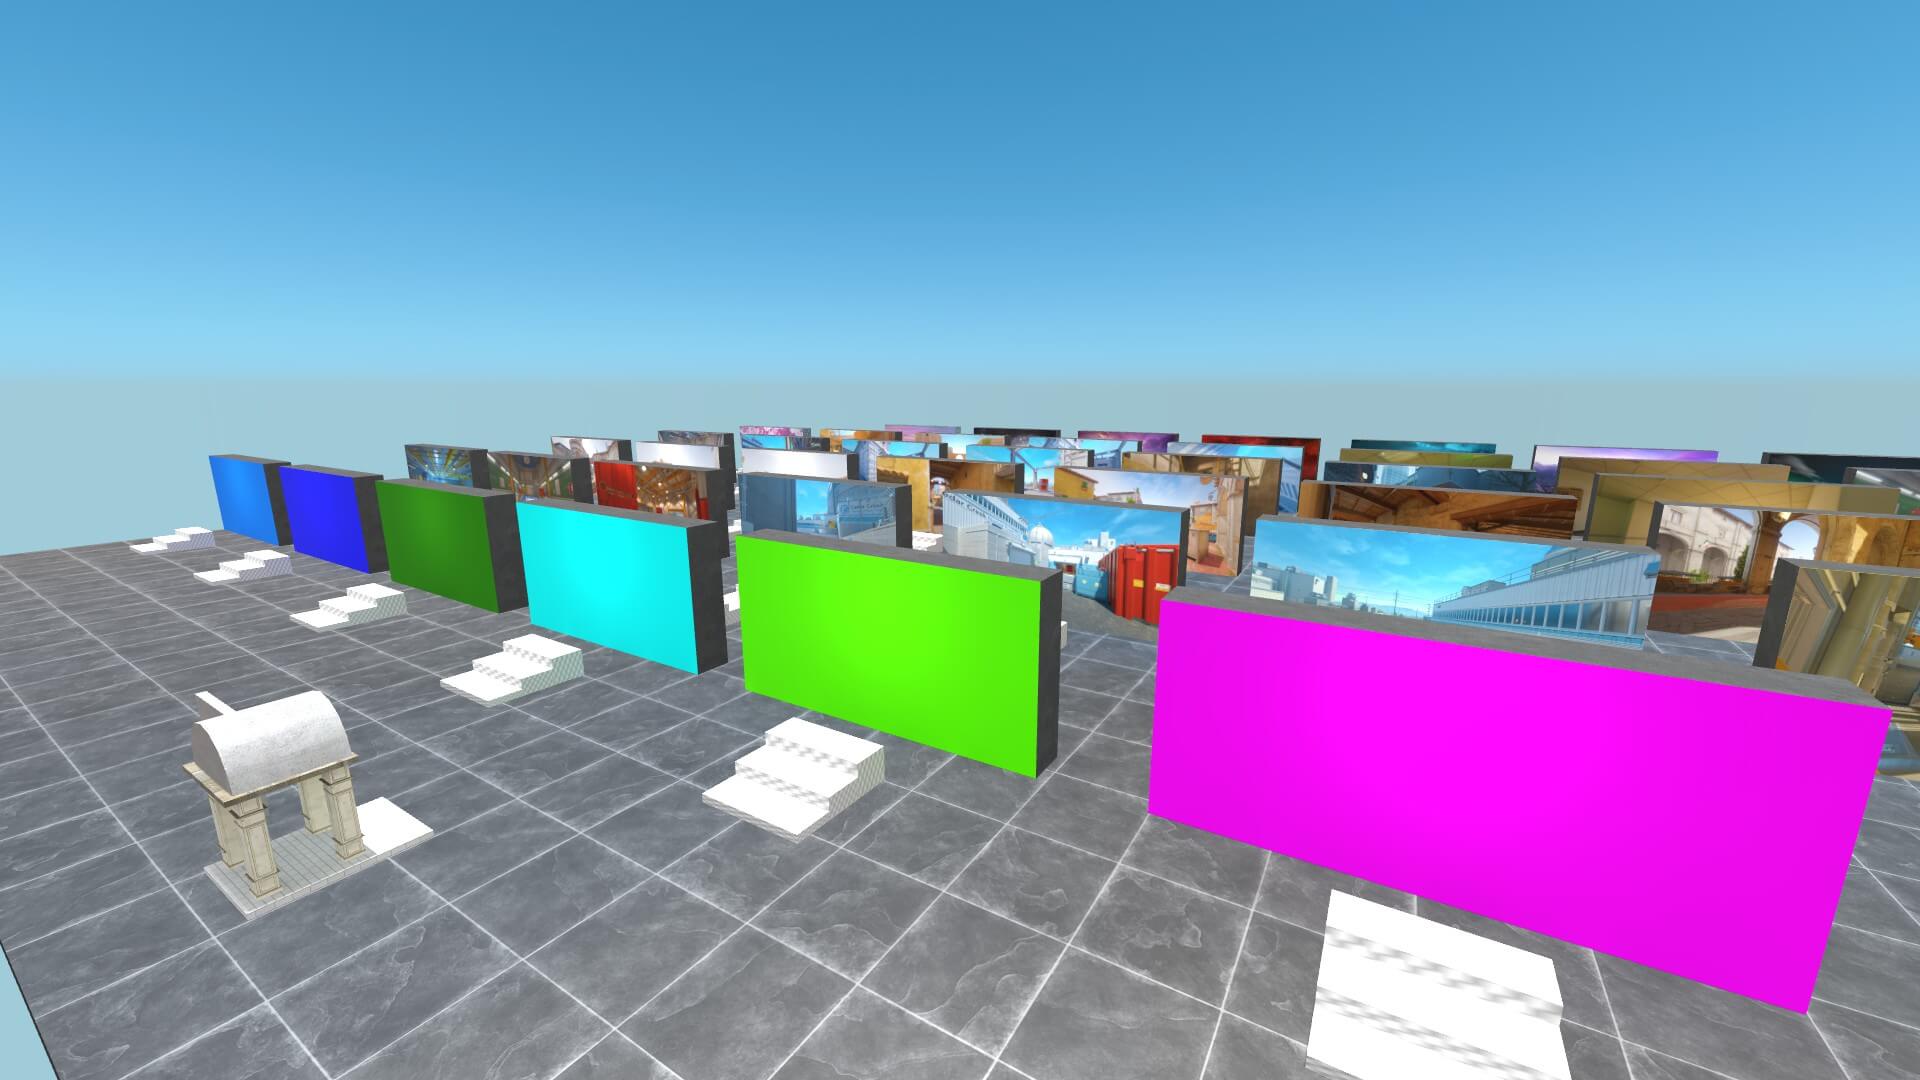
- 2 rows of new and fresh backgrounds
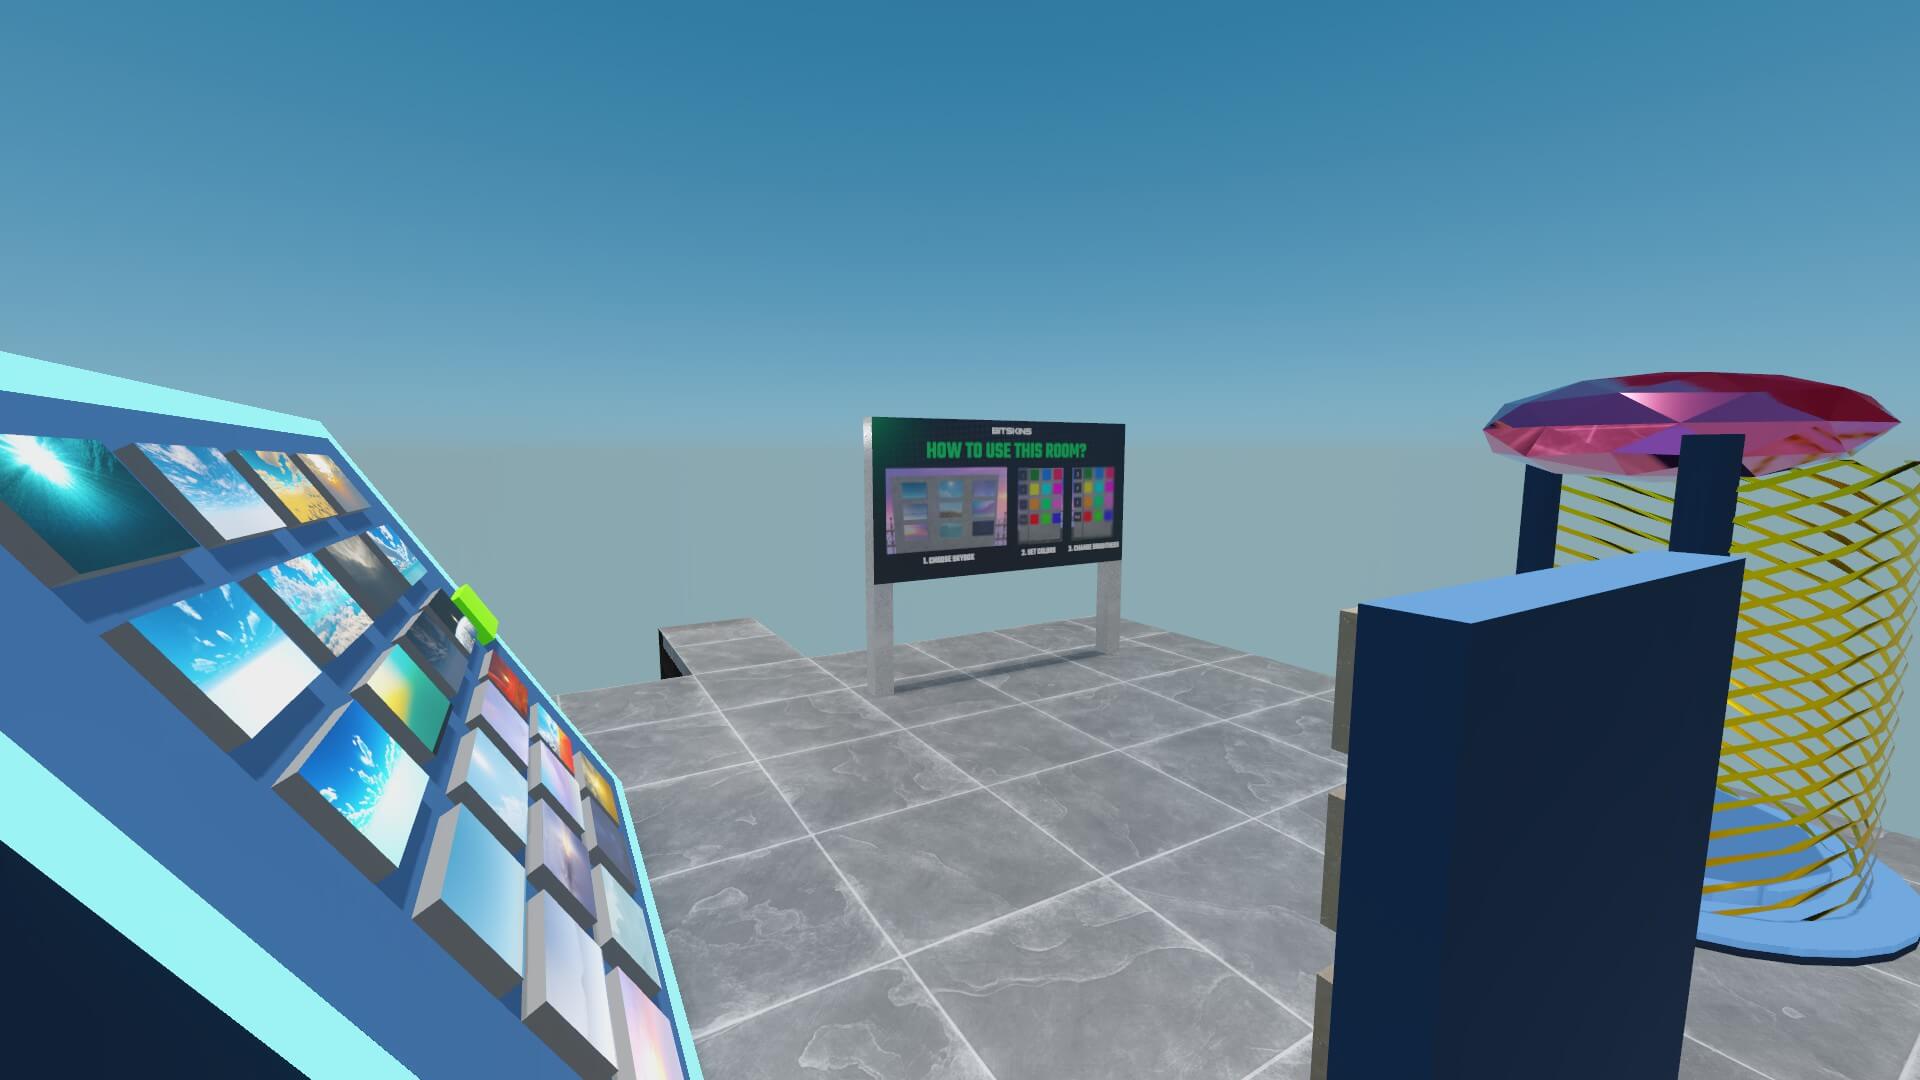

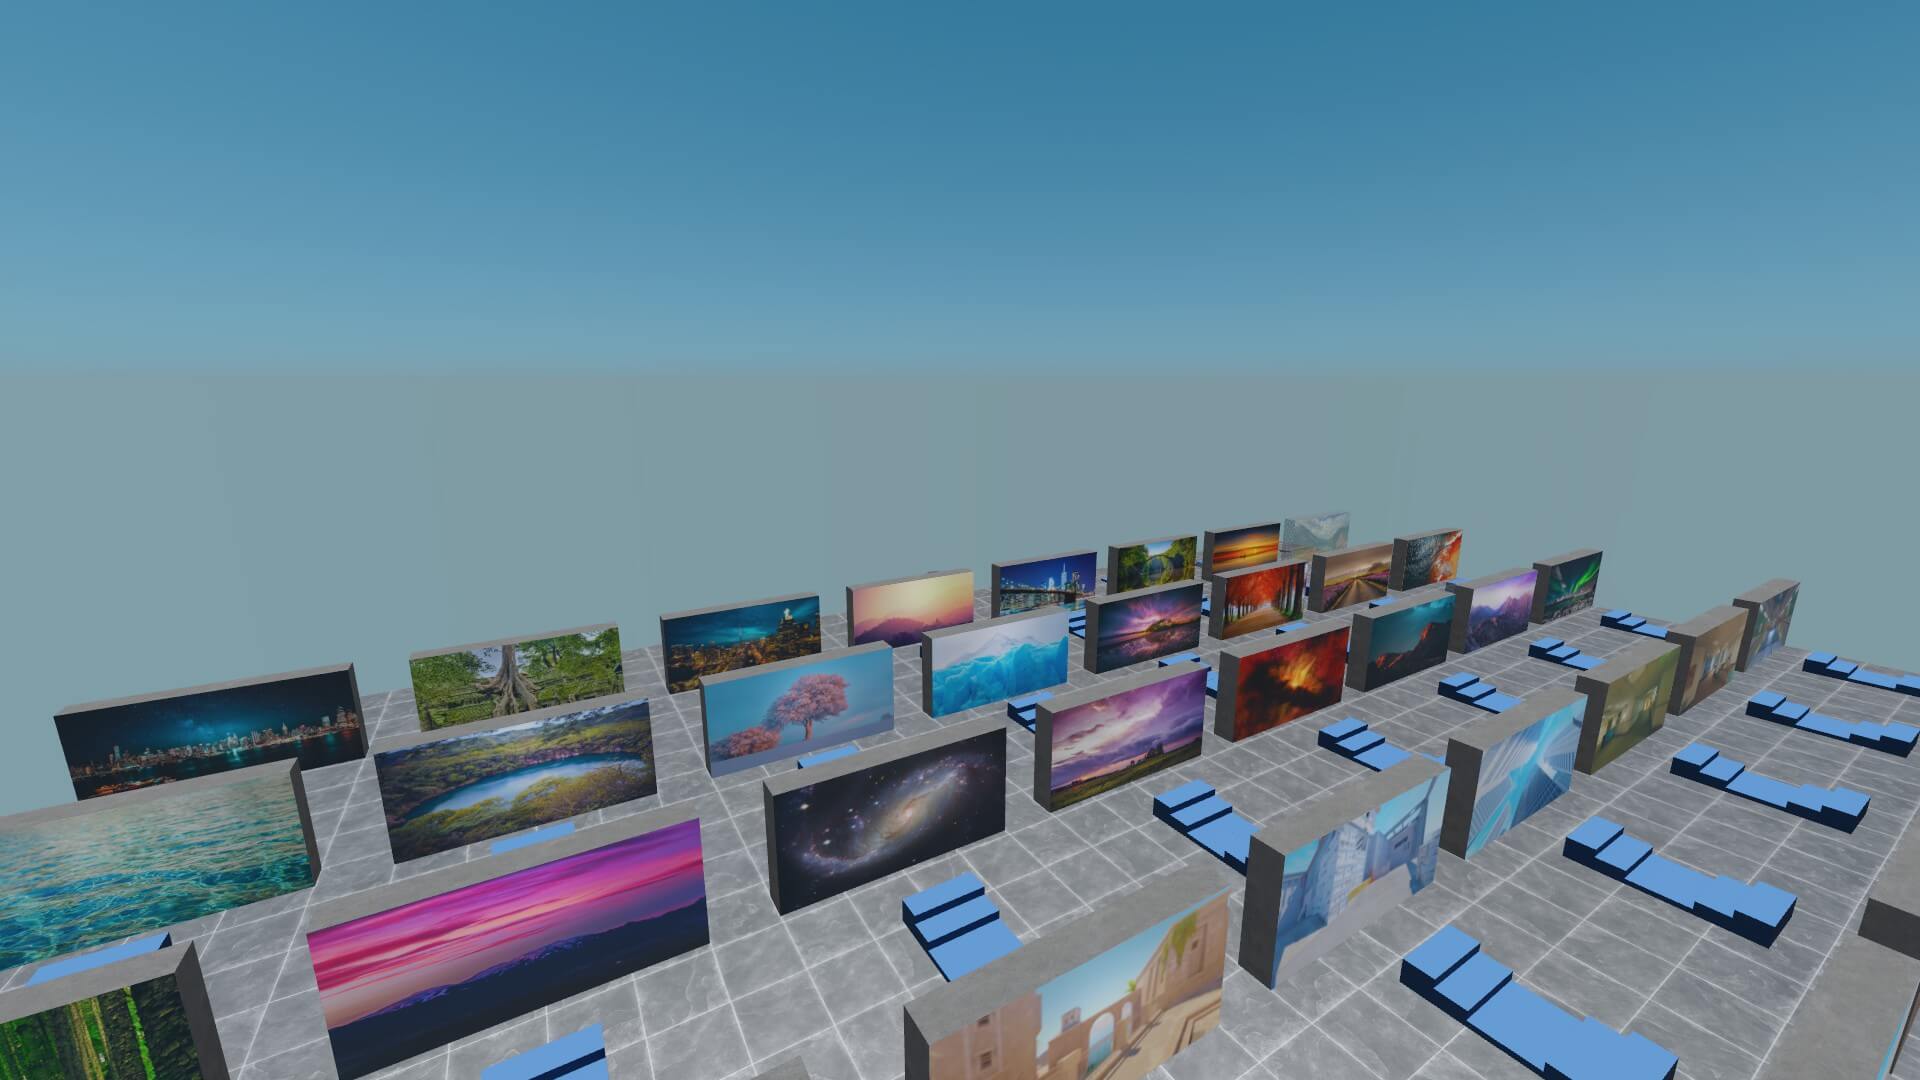
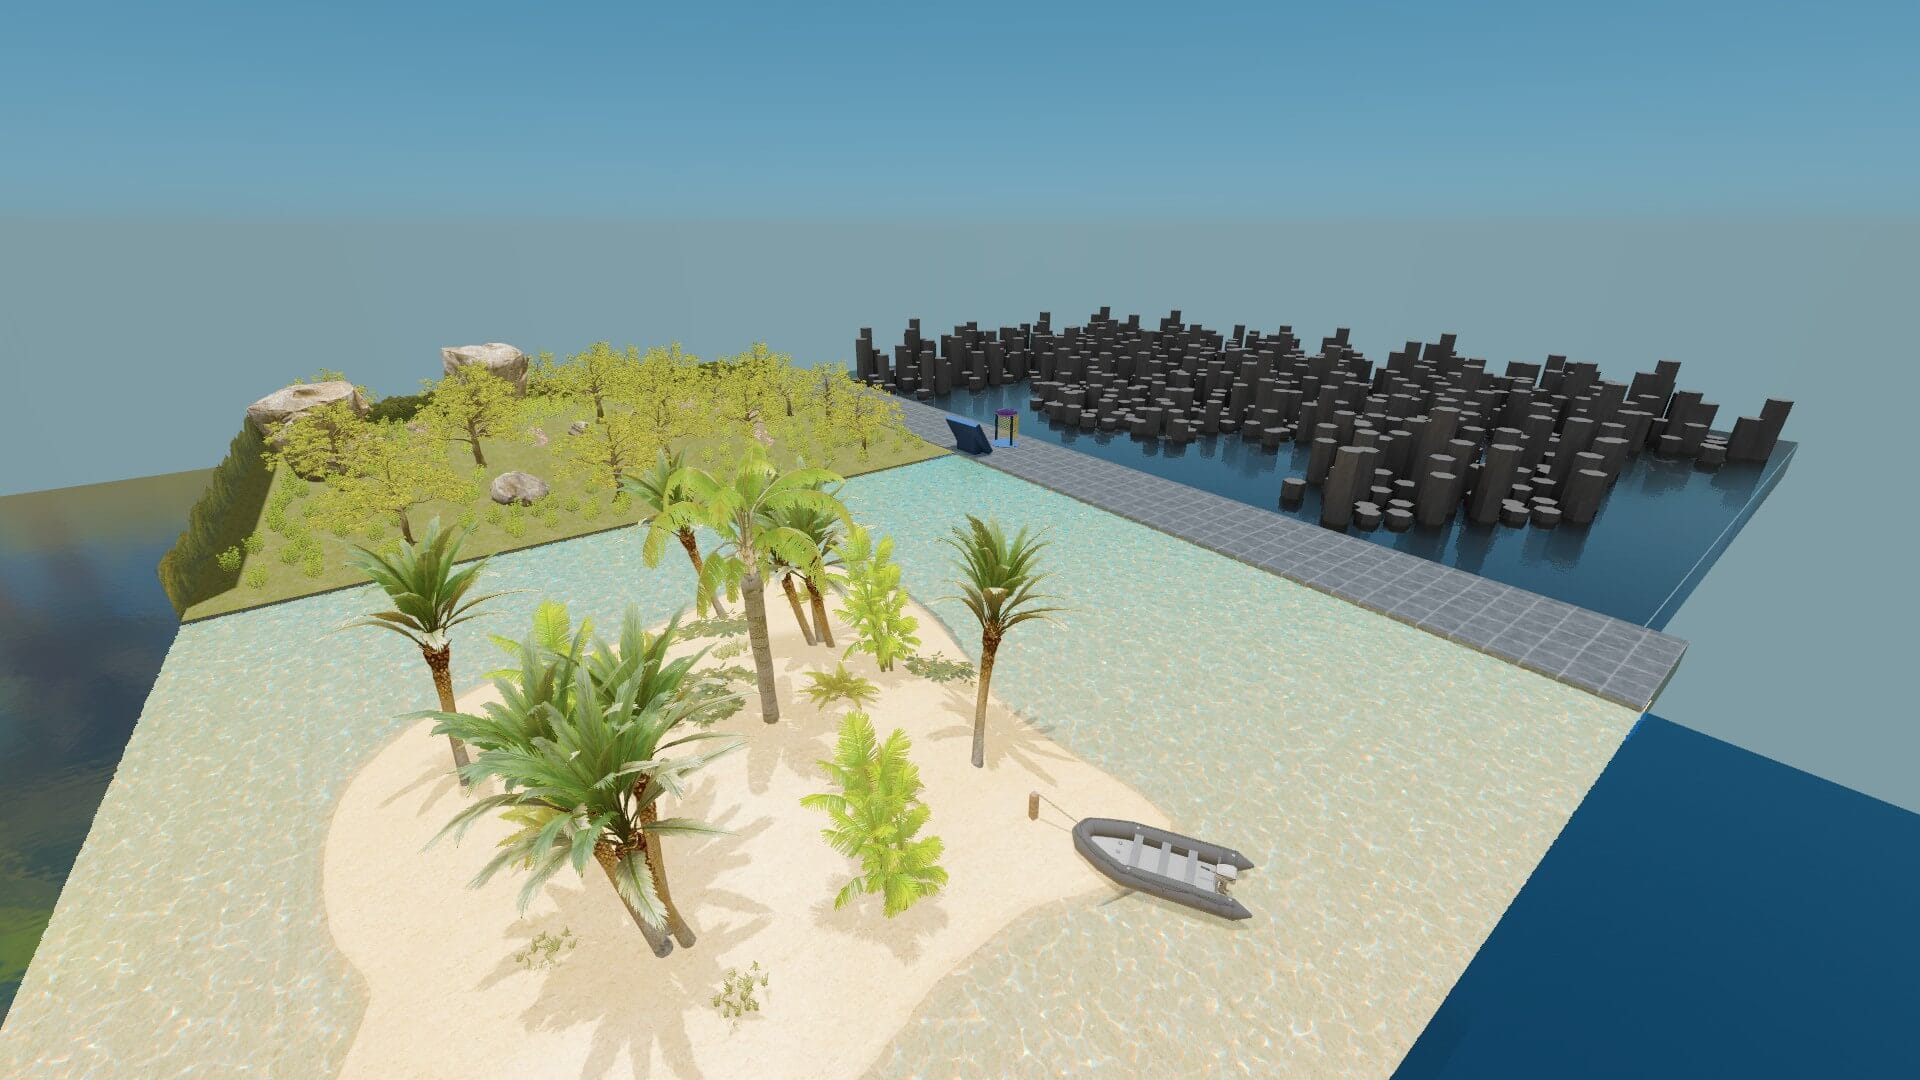
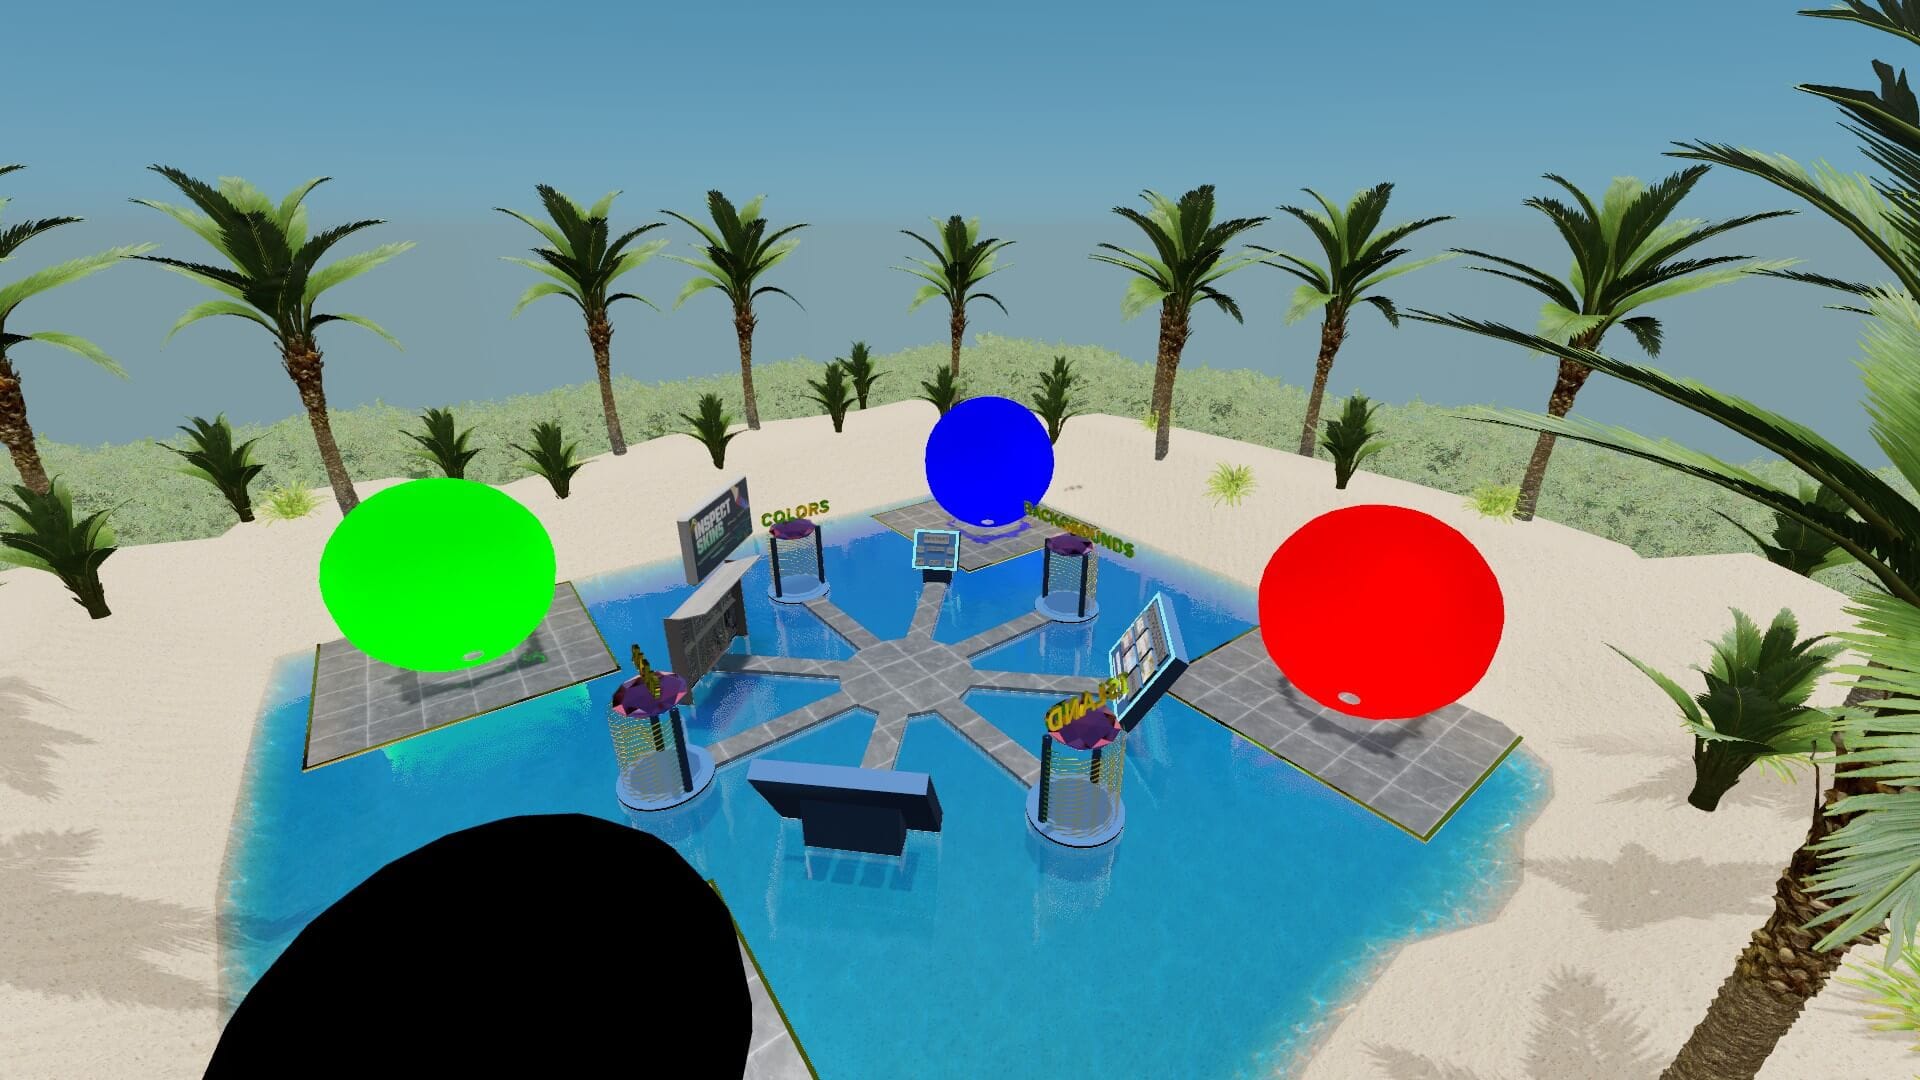
Visual options
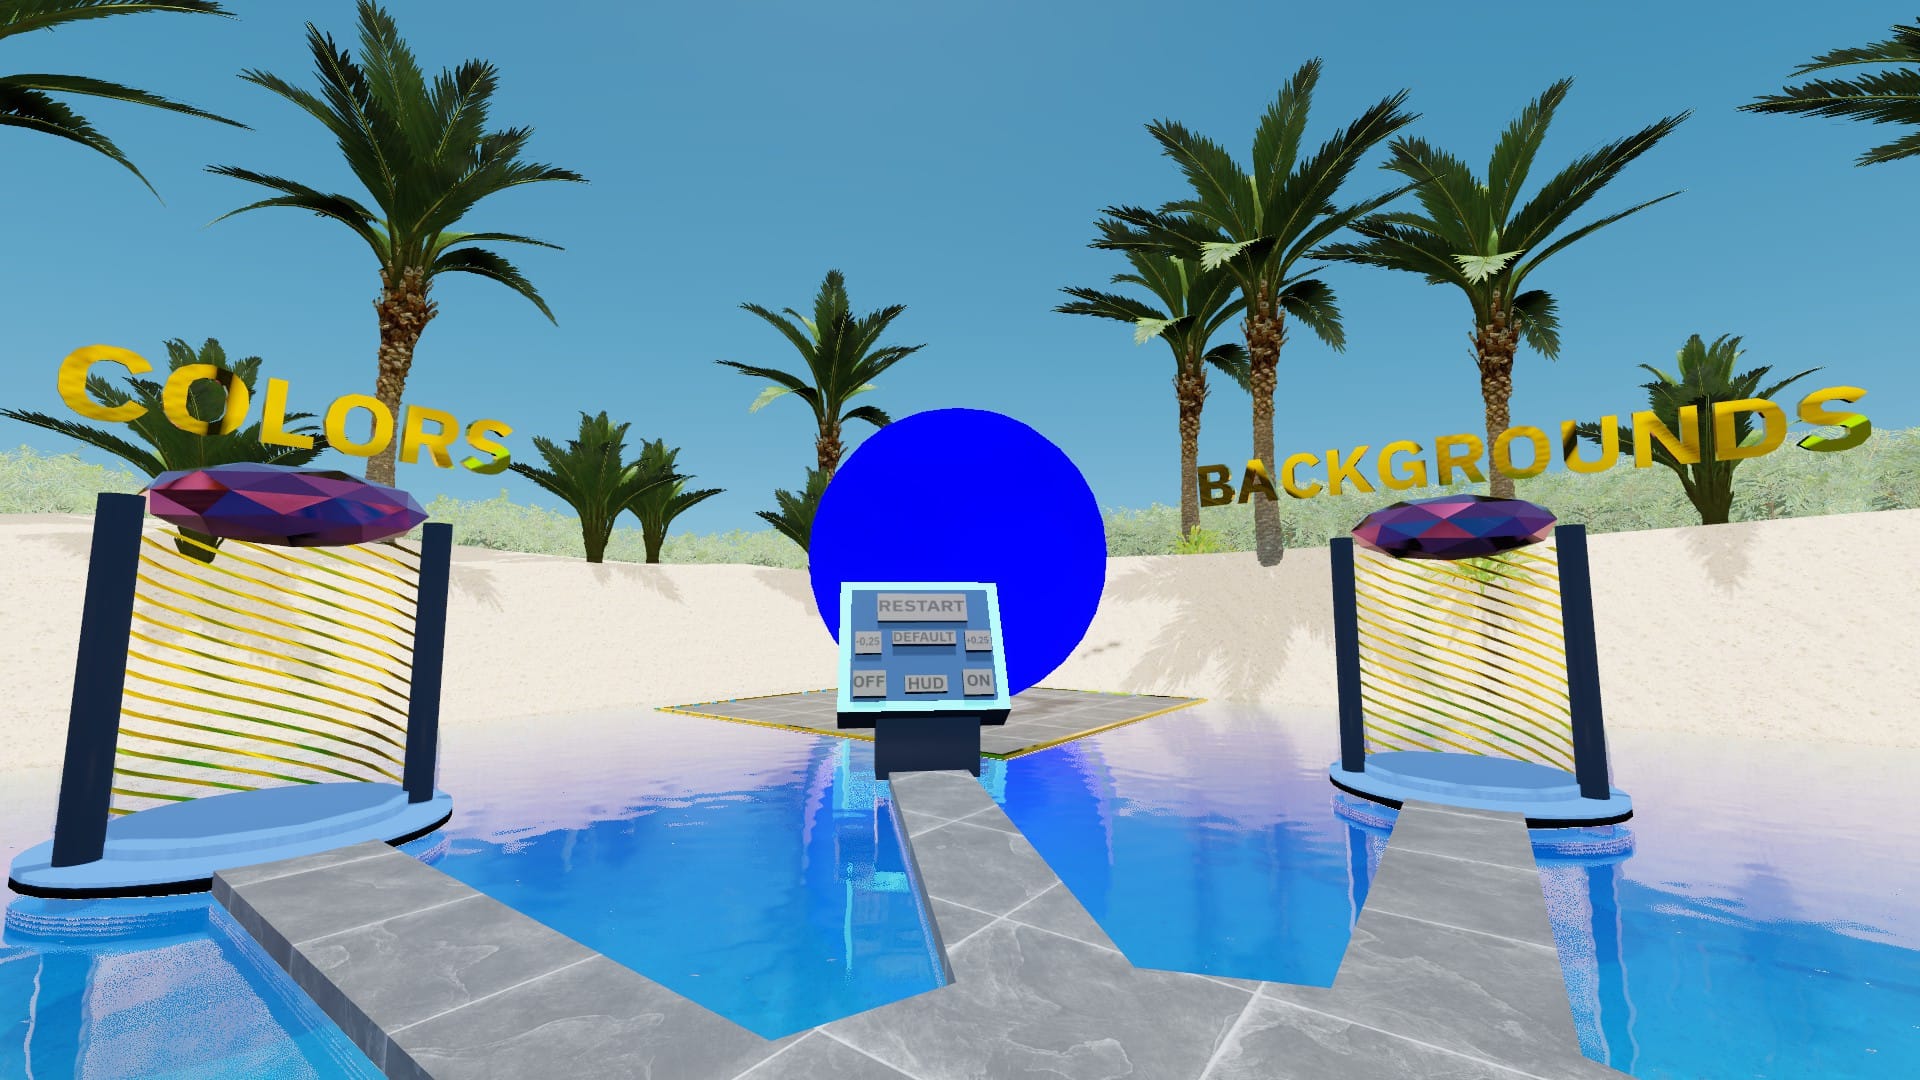
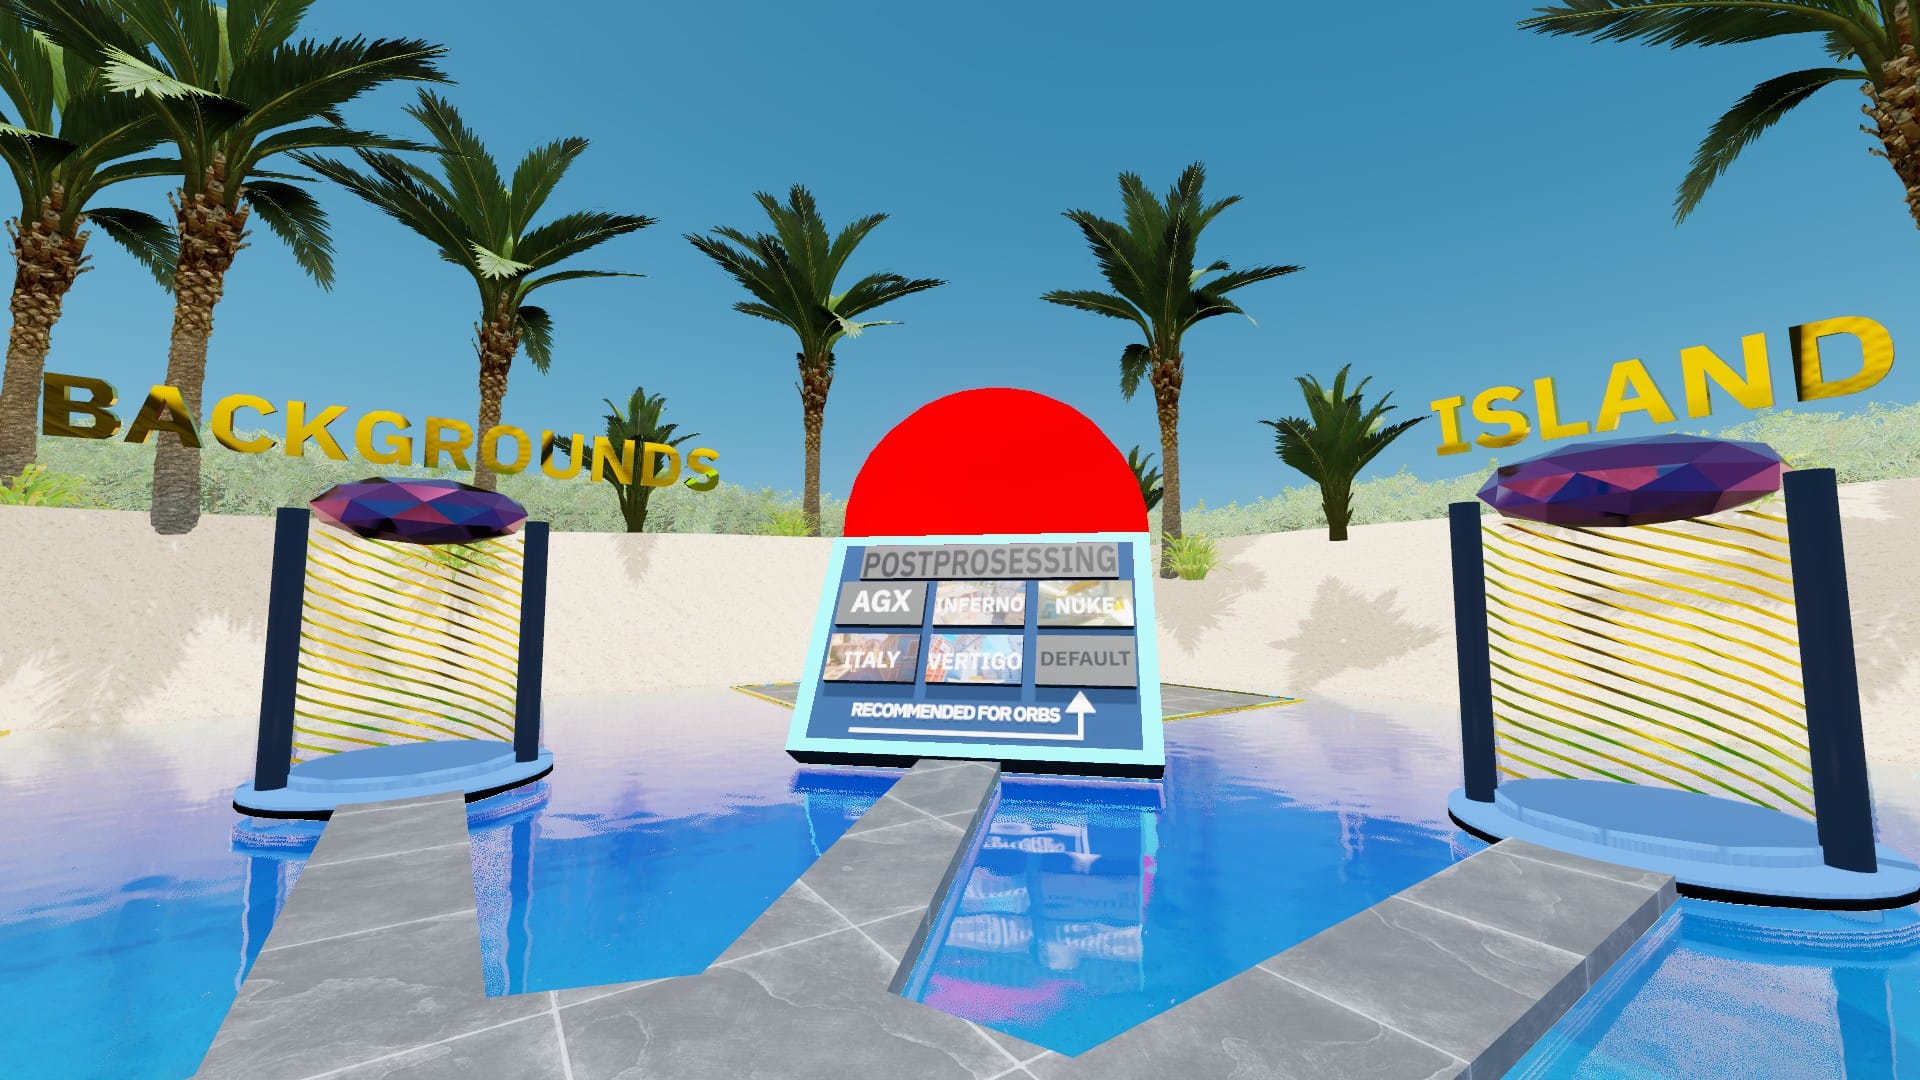
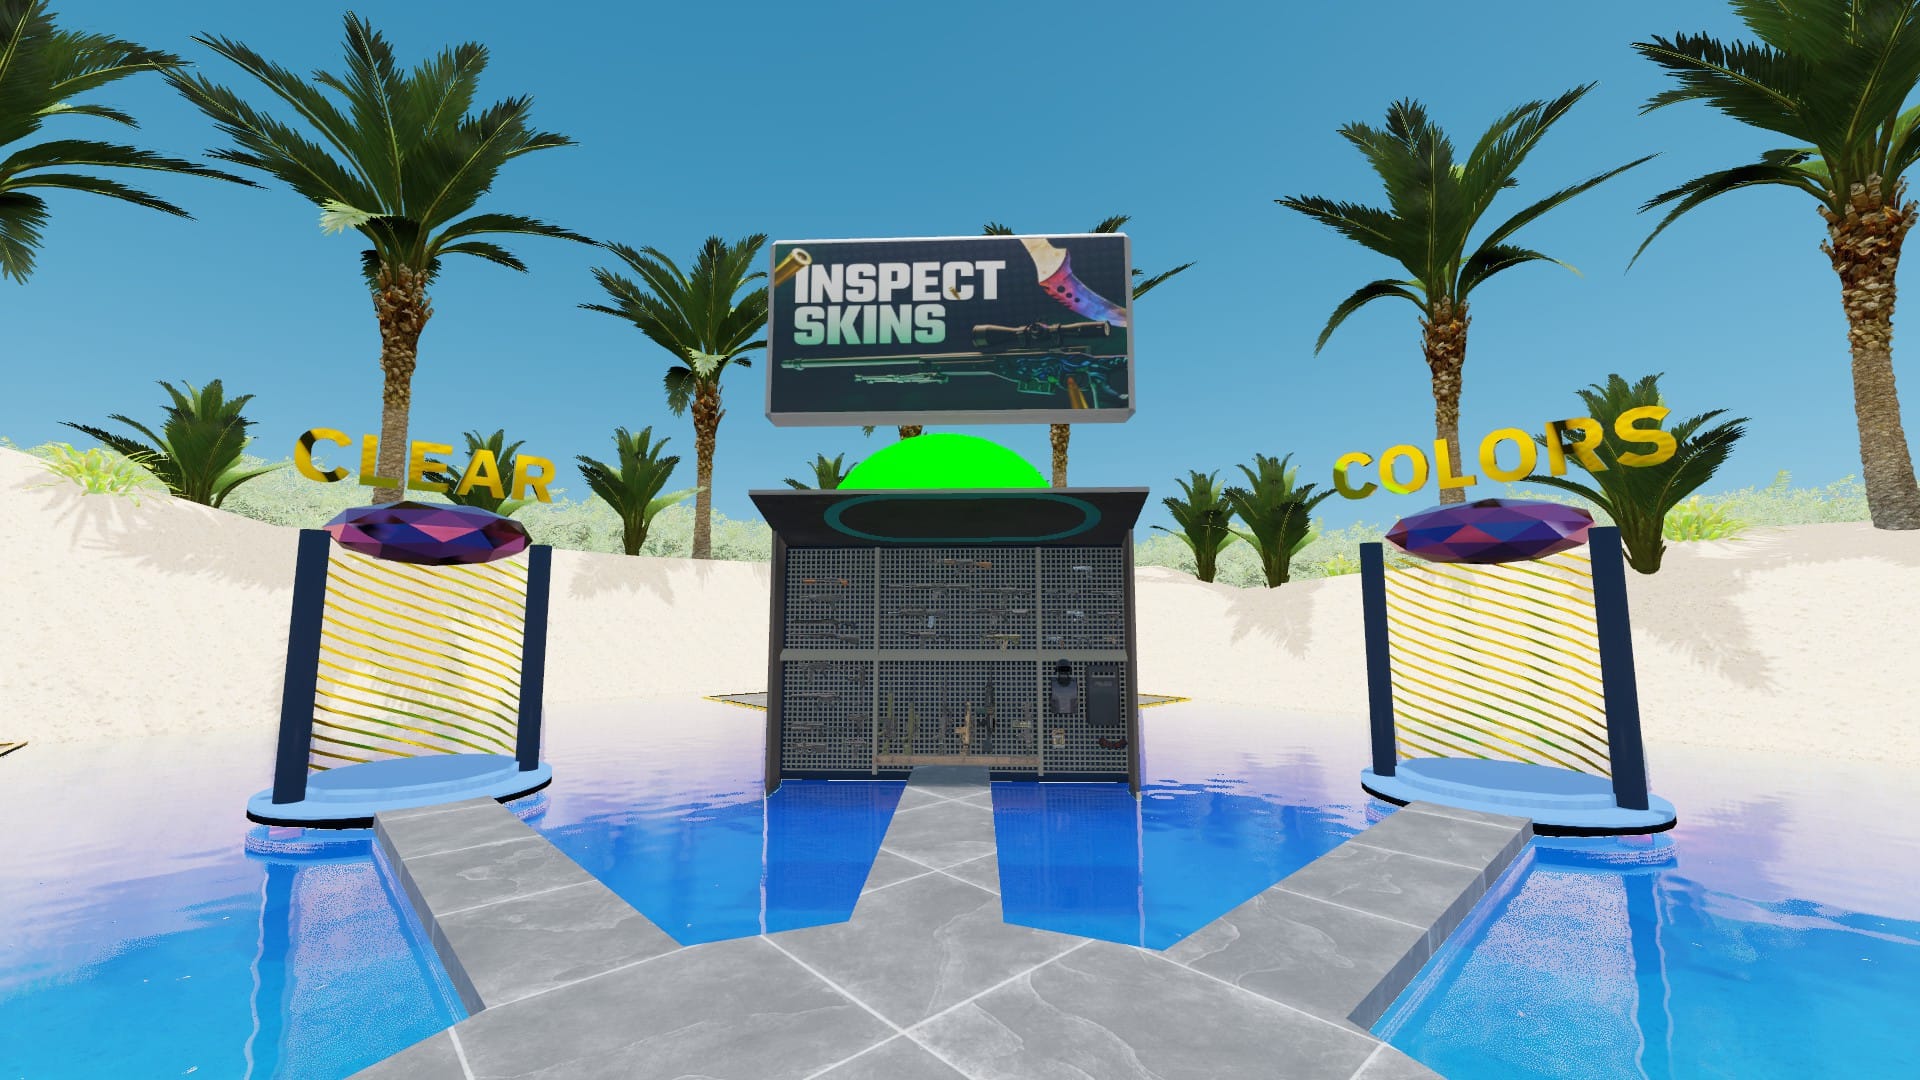
How to Inspect Skins in CS2?
For a detailed inspection and screenshot capabilities, the custom inspect map by BitSkins is the perfect tool. Here’s how to use it:
How to Get the Inspect Map
- Visit the Steam Workshop:
- Go to the CS2 Skin Inspect Map on Steam Workshop.
- Click on the "Subscribe" button to add the map to your workshop library.
- Launch the Map:
- Open CS2 and click "Play".
- Click "Workshop Maps" and select the "Inspect Skins" map.
- Click "Go" to start the map.
Features of the Inspect Map 2.0
The inspect map comes with several features designed to make inspecting and screenshotting skins easy and enjoyable. Here’s a breakdown:
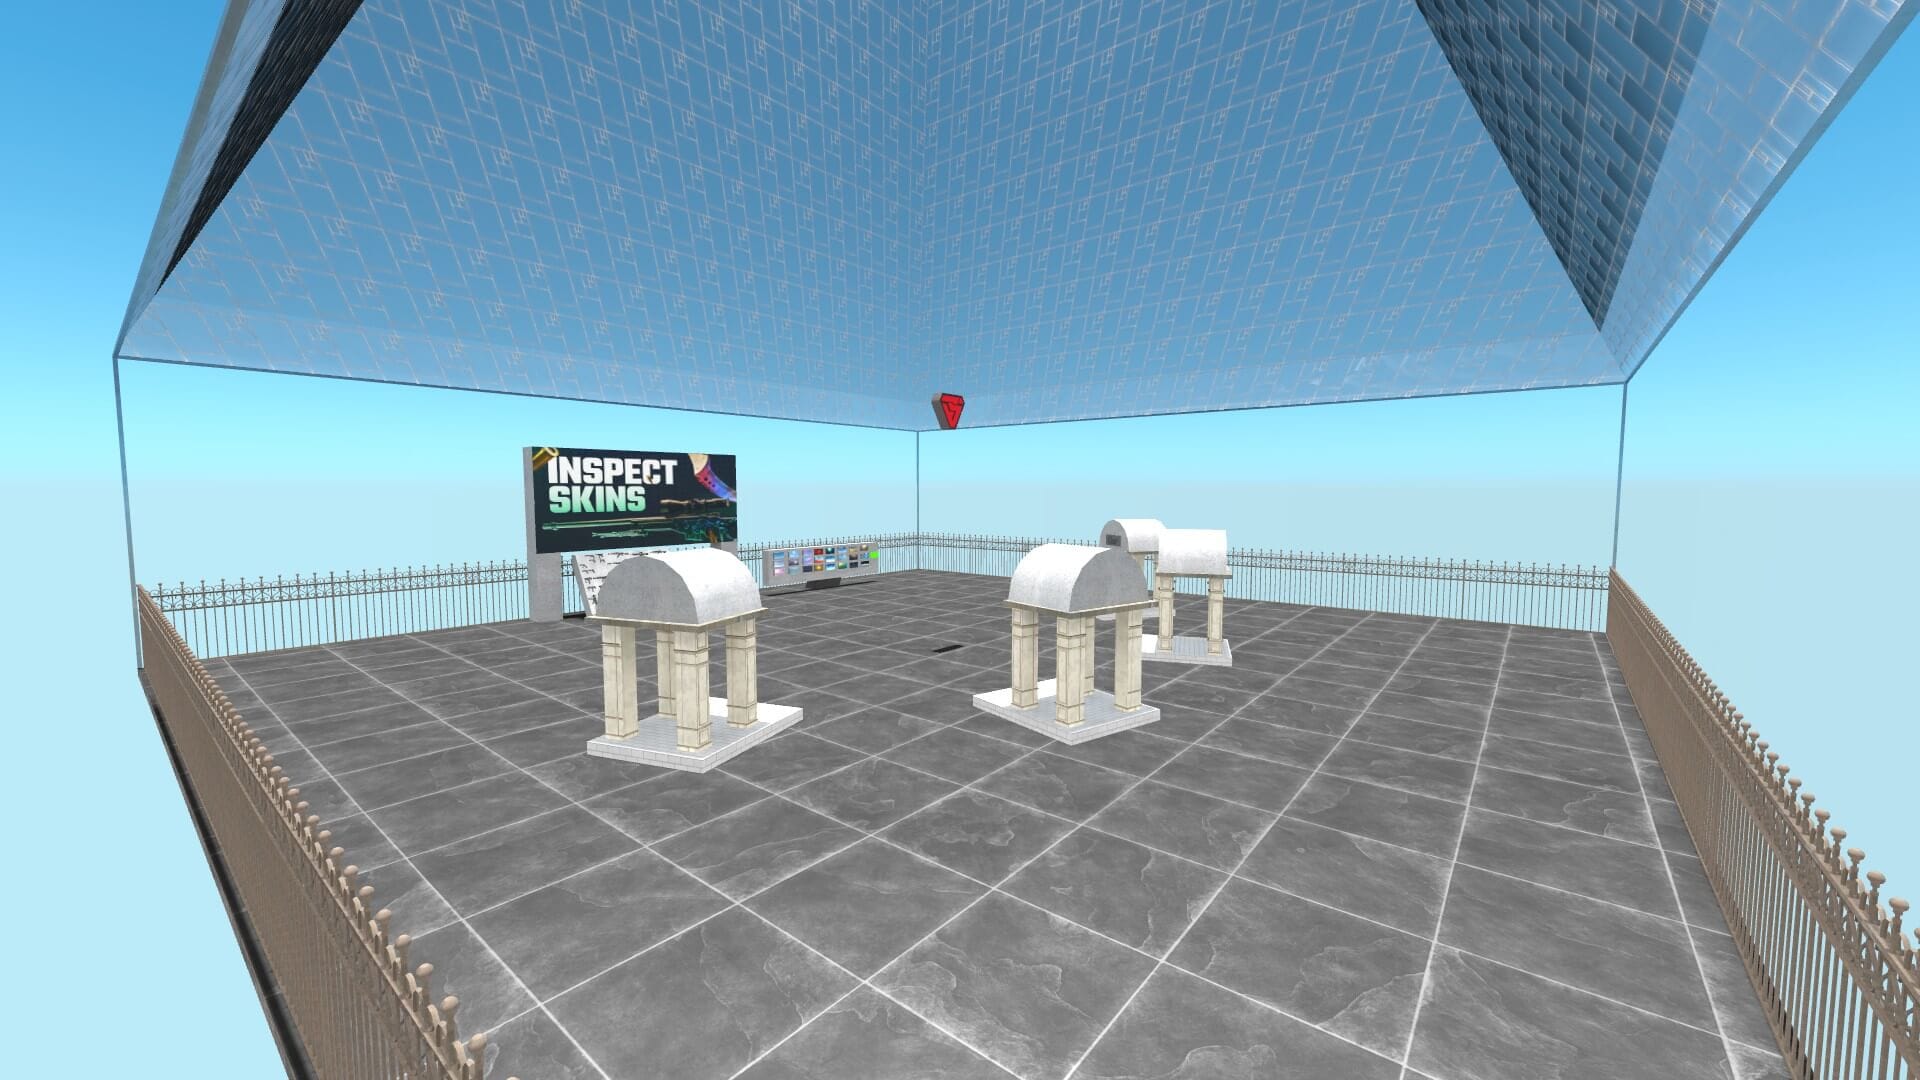
Lobby
- Weapon Console: Features every gun in CS2. Shoot at any weapon to equip it in-game.
- Saturation and HUD Control: Ability to edit exposure settings, turn the HUD on and off, and much more!
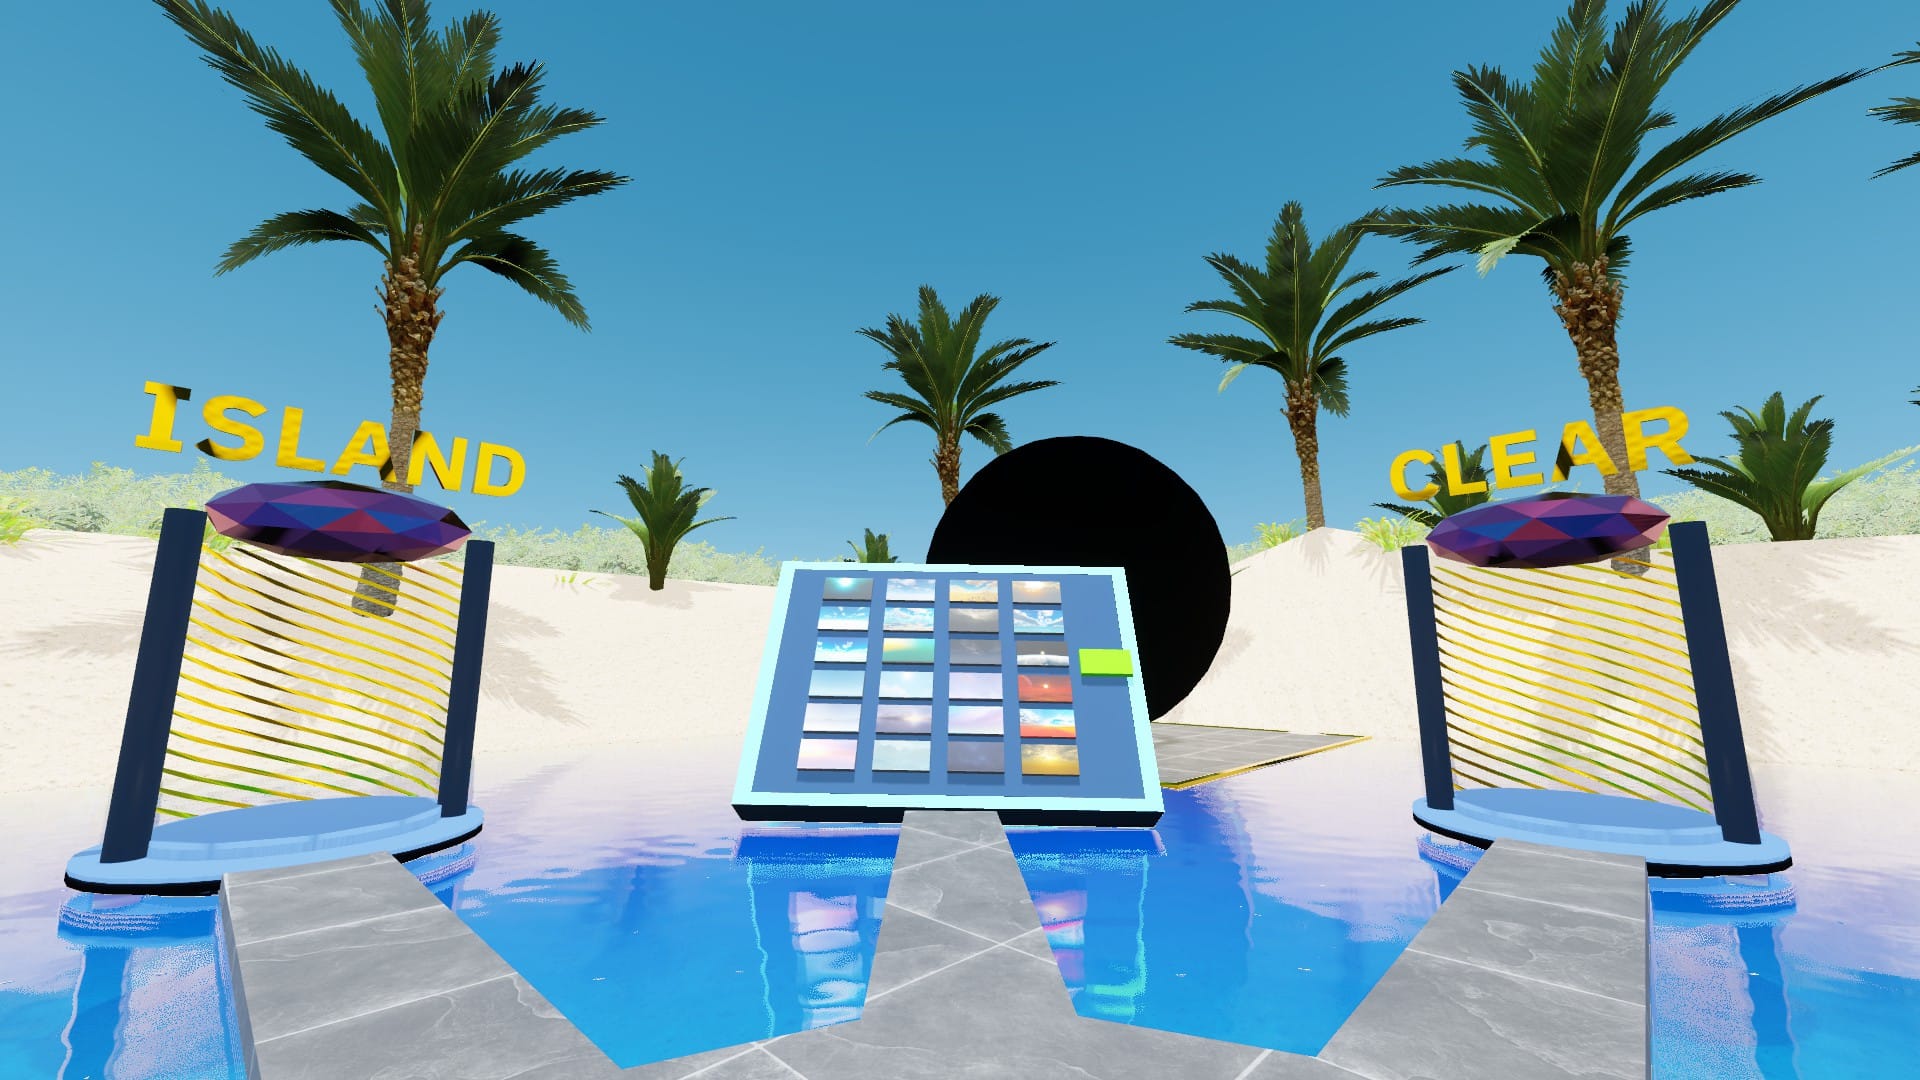
- Skybox Selection: Choose from various skyboxes to set as the background. Shoot at the skybox image to select it, then fly into the distance to take your screenshot.
Clear
- Empty Space: A plain area with the selected skybox background. Return to the lobby to change the background by walking onto the white square.
Colors
- Customizable Background: Change background colors and brightness. Adjust brightness using the values on the left.
Island
- Scenic Background: A beautiful island setting with water and palm trees, maple forest or raw, hexagon stones, perfect for impressive screenshots.
Screenshot Backgrounds
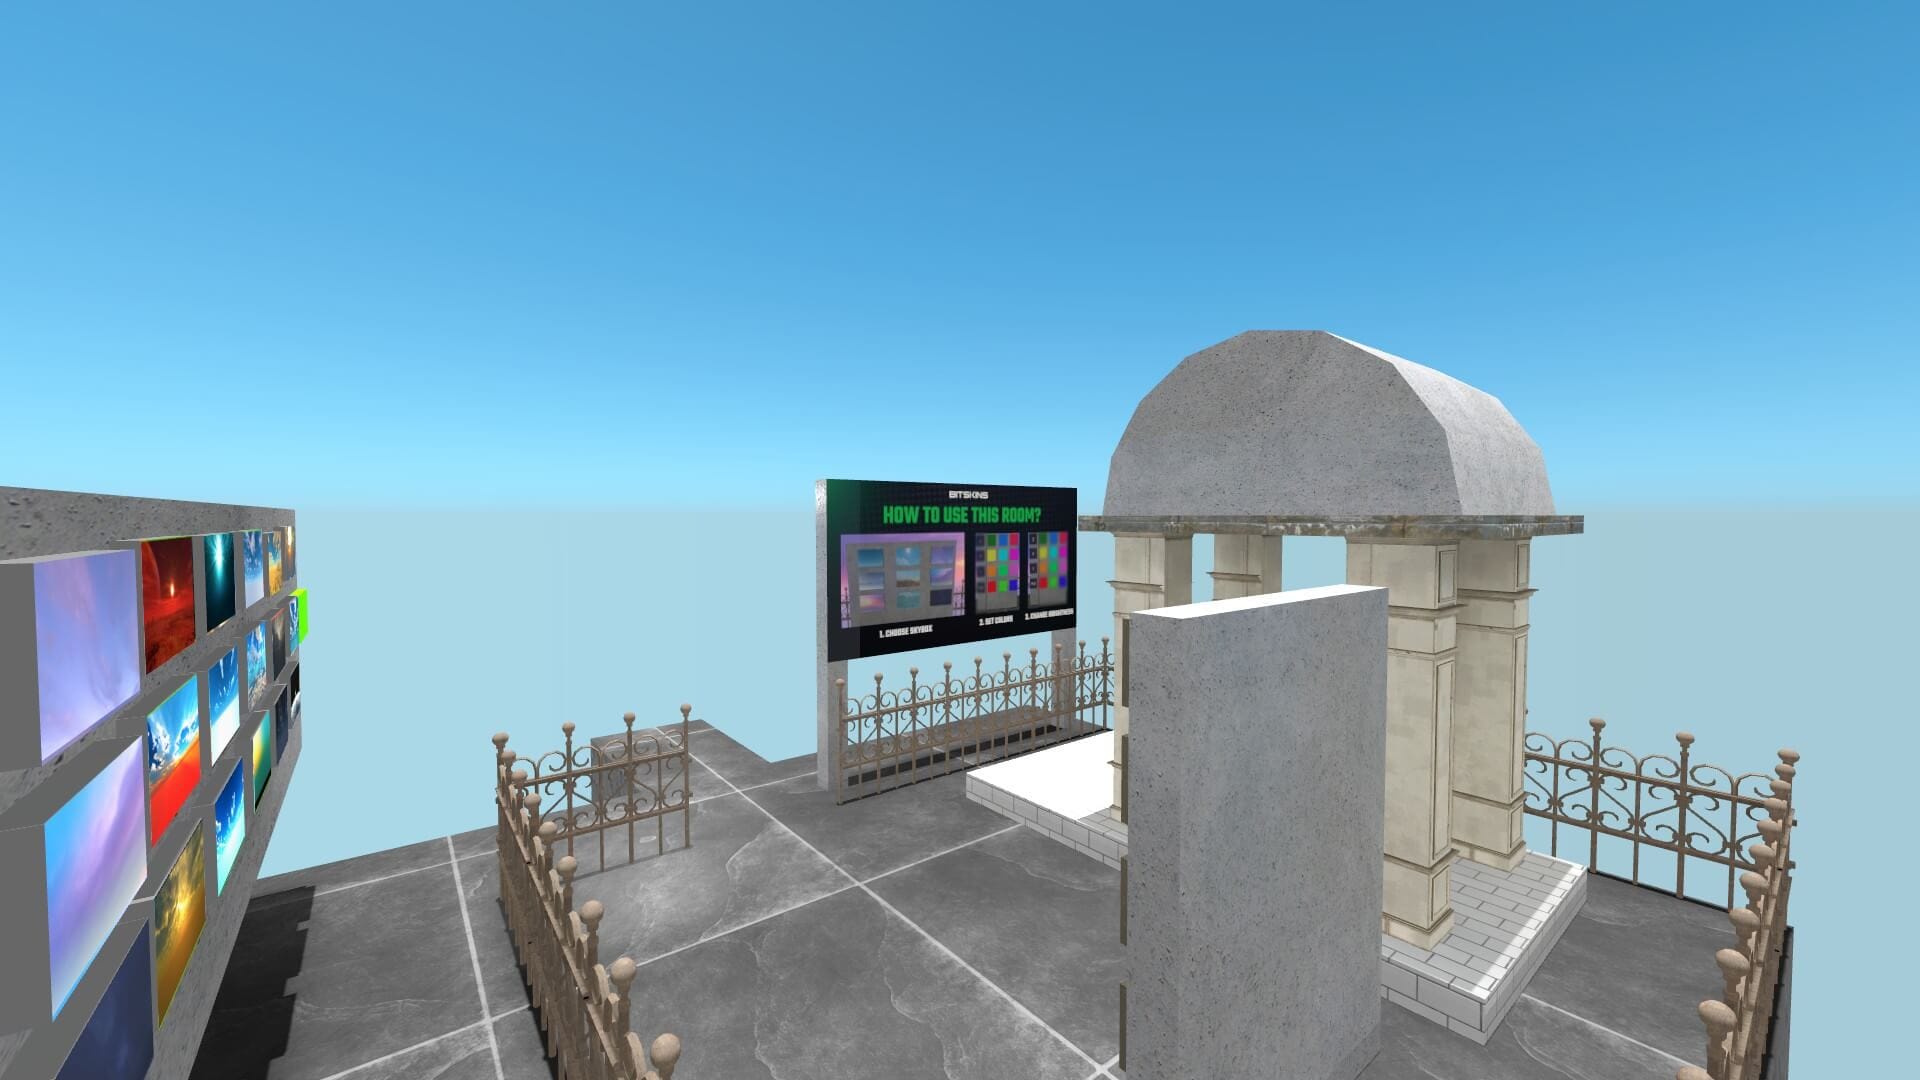
- Diverse Backgrounds: 64 individual backgrounds crafted to suit different skins. Select a background, go up the stairs, turn off your HUD, and take a perfect screenshot.
Commands for Customizing Your View
- Hide CS2 Version in the Corner:
r_show_build_info 0 - Hide HUD:
cl_drawhud 0 - Hide Weapon/Hands Model:
r_drawviewmodel 0
Connecting to the BitSkins Inspect Server
To inspect skins directly in-game with additional features like !gen and !combo commands, connect to the BitSkins server:
- Connect via Console:
- Open the in-game console and type: connect bitskins.epidemic.gg
- If that doesn't work, use: 185.52.54.190:27015
- Adjust Graphics:
- If the game looks grainy, set "High Dynamic Range" to "Quality" in the advanced video settings.
Using this map and server, you can easily inspect and screenshot your CS2 skins in various lighting conditions and backgrounds, ensuring you get the perfect view of your favorite items.
Using CS2 Inspects
The cs2inspects.com website is a fantastic tool for inspecting skins with detailed information and custom features. Here’s how to use it:
Step-by-Step Guide:
- Go to CS2 Inspects:
- Open your browser and go to cs2inspects.com.
- Load an Inspect Link:
- Use the top bar on the website to paste your inspect link or select the skin you want to view.
- (Optional) Type in the Pattern ID and/or Float Value
- Generate a !g Code:
- Copy the generated !g code via the copy button or use the “Inspect in Server” button if signed in. This allows you to inspect the skin directly in-game.
- Optional Customization:
- The five boxes at the bottom correspond to stickers on the weapon. You can use the sticker customizer button to adjust their positions.
- Generate a !combo code to populate your primary, secondary, knife, and gloves at once in-game, and you can add a nickname before generating the code.
- Click the heart icon to favorite your craft for later if you are signed in.
Inspecting the skins in-game:
Connect to a server:
- Go to the server list on cs2inspects.com and click the "Connect" button underneath the map icons or "View Server List" to see all available servers and custom workshop maps.
Use the !g Code:
- Once in-game, select your team, open the chat (not the console), and type the !g code or use the “Inspect in Server” button from the website.
- (Optional) Use !i inspectlink in chat to view any skin via the inspect link directly. This works for all items, including agents, custom crafts for guns, knives, and gloves.
Additional Resources
- Epidemic’s Discord Server: Join the Discord server for support or questions at discord.gg/inspects.
Community Server List:
- connect inferno.epidemic.gg
- connect nuke.epidemic.gg
- connect dust2.epidemic.gg
- connect vertigo.epidemic.gg
- connect mirage.epidemic.gg
- connect siege.epidemic.gg
- connect biome.epidemic.gg
- connect thera.epidemic.gg
- connect overpass.epidemic.gg
- connect ancient.epidemic.gg
- connect italy.epidemic.gg
- connect office.epidemic.gg
- connect anubis.epidemic.gg
- connect memento.epidemic.gg
- connect lostcoast.epidemic.gg
Quick Tips for Inspecting Skins:
- Using the Inventory: Go to your CS2 inventory, find the skin you want to inspect, right-click "Inspect in Game..." and copy the link.
By following these steps, you’ll be able to inspect your CS2 skins with ease, customize your viewing experience, and enjoy detailed screenshots of your favorite skins. Happy inspecting!
At BitSkins, we're committed to providing a fast, secure, and seamless experience for buying, selling, and trading CS2 skins. Whether you're a seasoned trader or new to the game, our platform offers competitive pricing, a wide selection of skins, and multiple payment options, including cryptocurrency. Start exploring our marketplace today and discover why BitSkins is trusted by millions of gamers worldwide.
Ready to get started? Visit BitSkins.com and elevate your gaming experience with the best skins on the market!
