How to Inspect and Take Screenshots of CS2 Skins

Whether you are a trader, collector, or casual player who just wants to show off your new skins, then you need to know how to inspect your skins in-game and take screenshots of them. Luckily for you, BitSkins has created a workshop map entirely devoted to inspecting and screenshotting CS2 skins, with tons of backgrounds, various lighting, and adjustable settings!
How to Get the Inspect Map
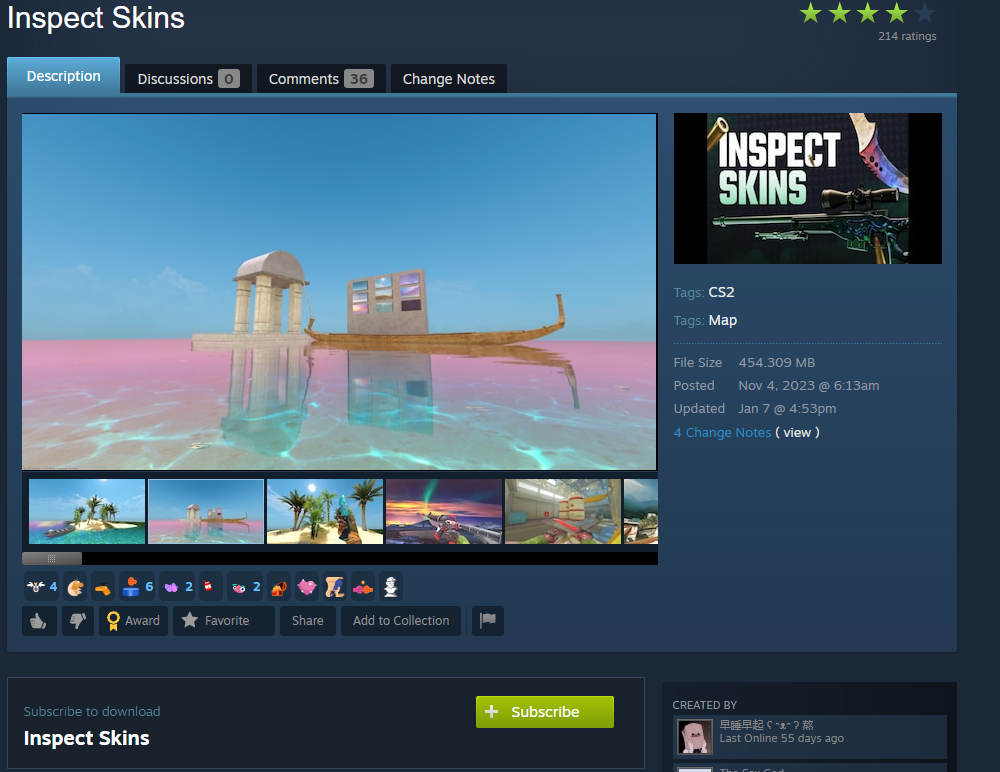
The inspect map can be added to your workshop library with the link below. Just click on the link and click on the "Subscribe" button to download the map.
How to Use the Inspect Map
Once you have downloaded the CS2 skin inspect map, launch CS2, click "Play," click "Workshop Maps," select the Inspect Skins map, and click Go

Then select a team and you will find yourself in the main lobby of the map.
Features
Our CS2 skin inspect map has seven incredible features to make inspecting and screenshotting CS2 skins beyond easy. Here are short descriptions of each feature:
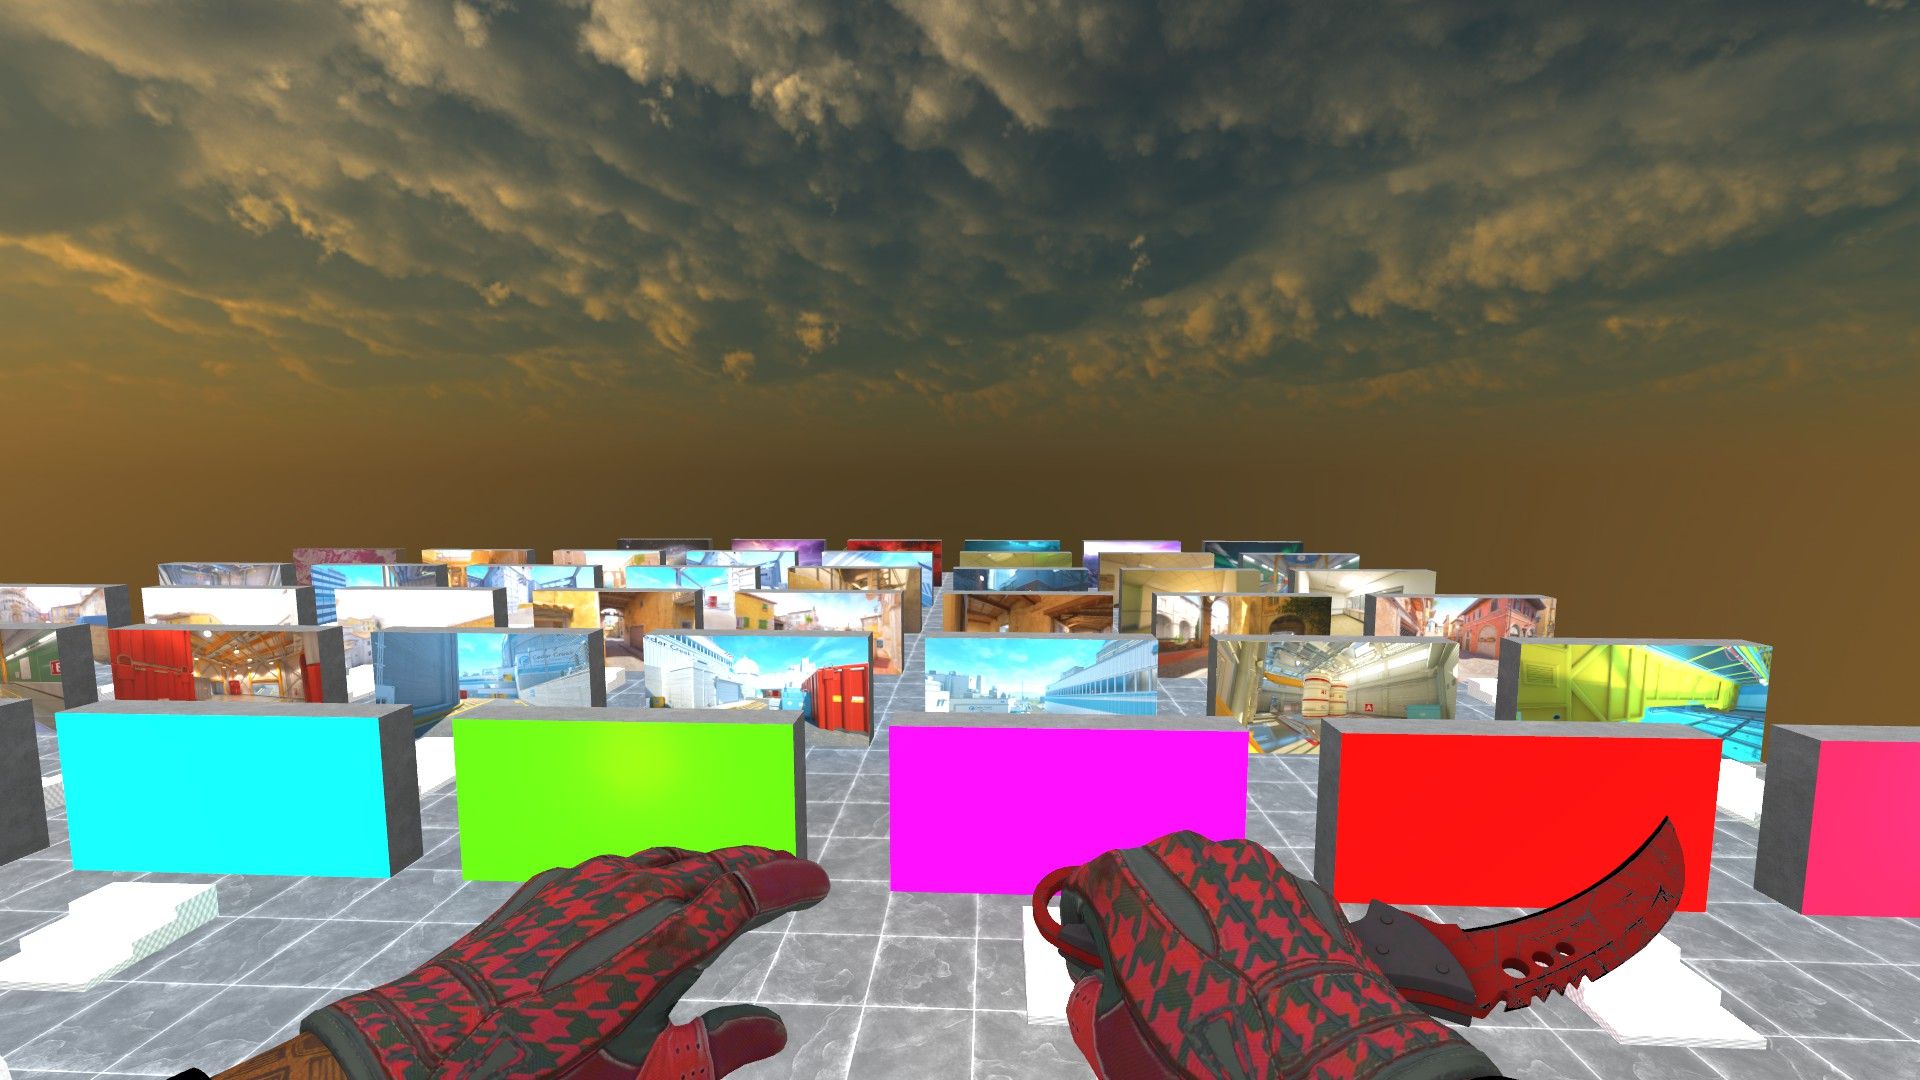
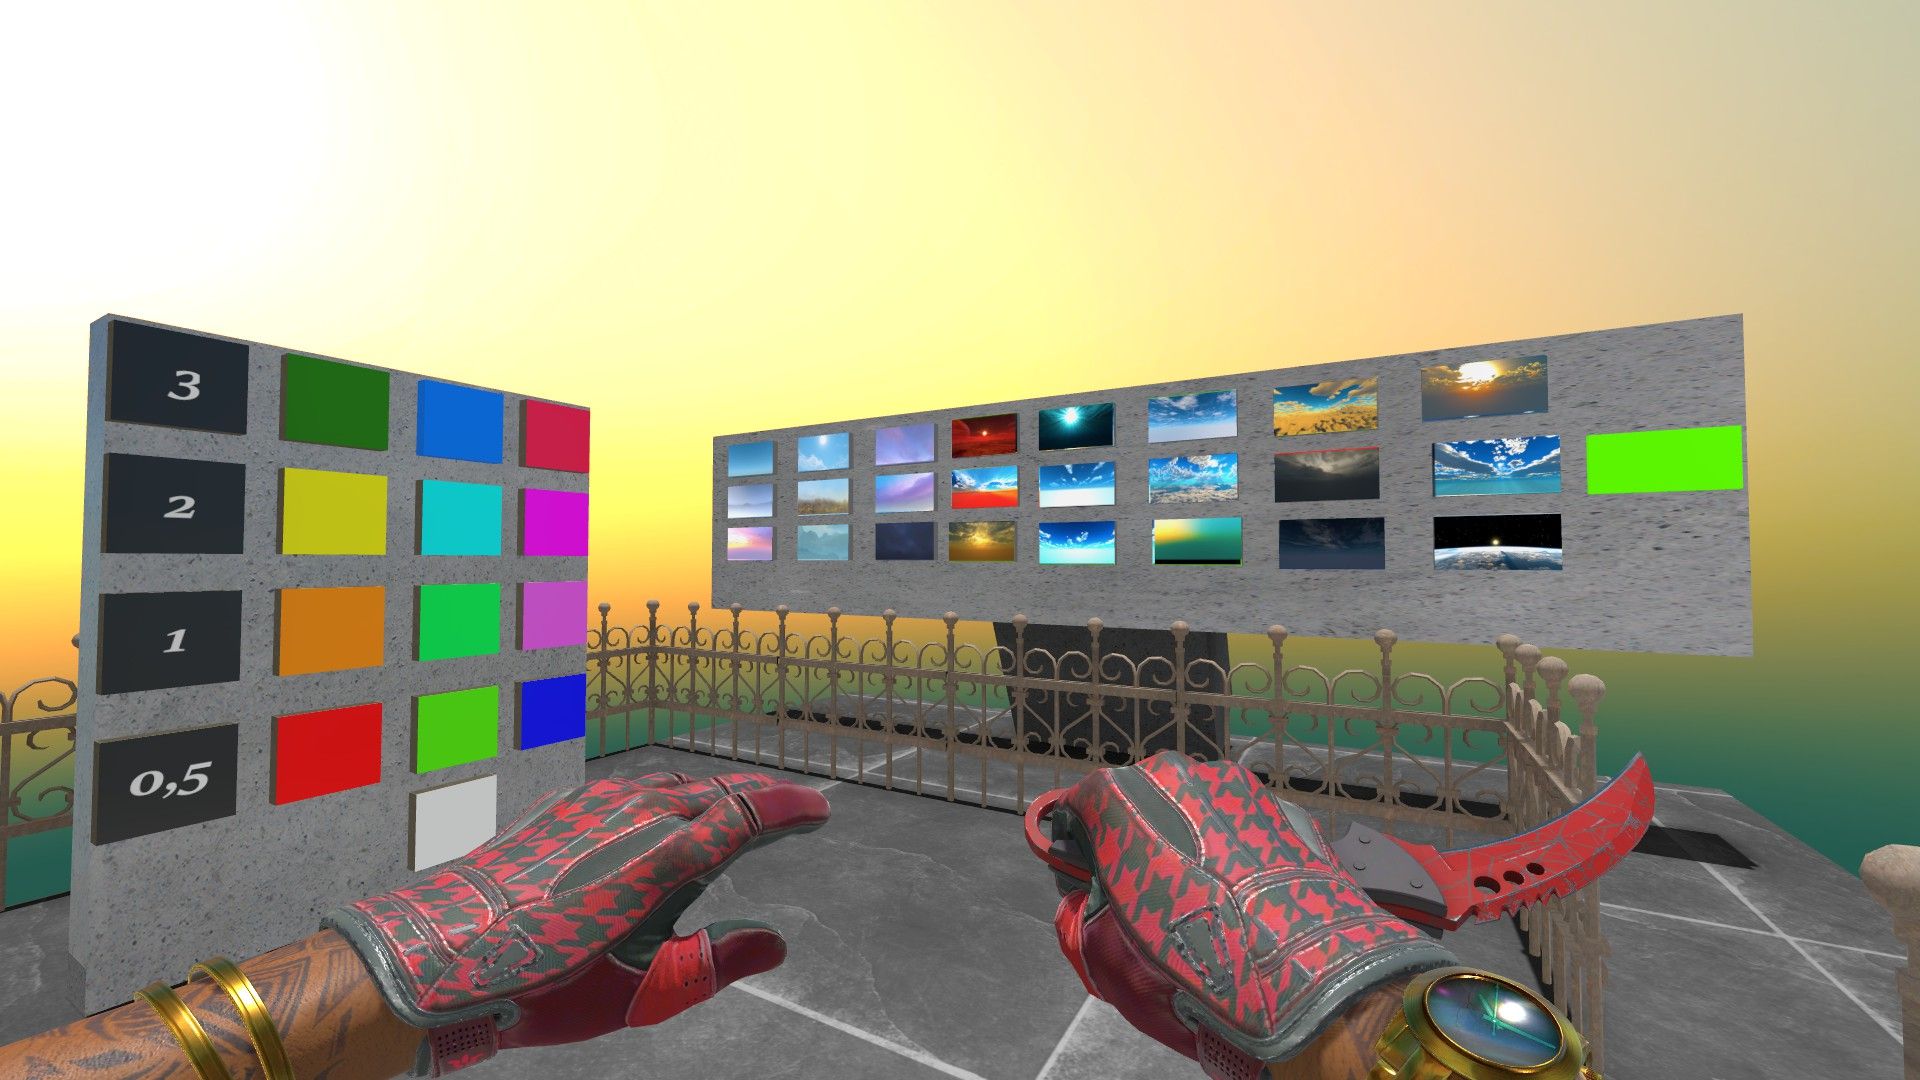
Lobby:
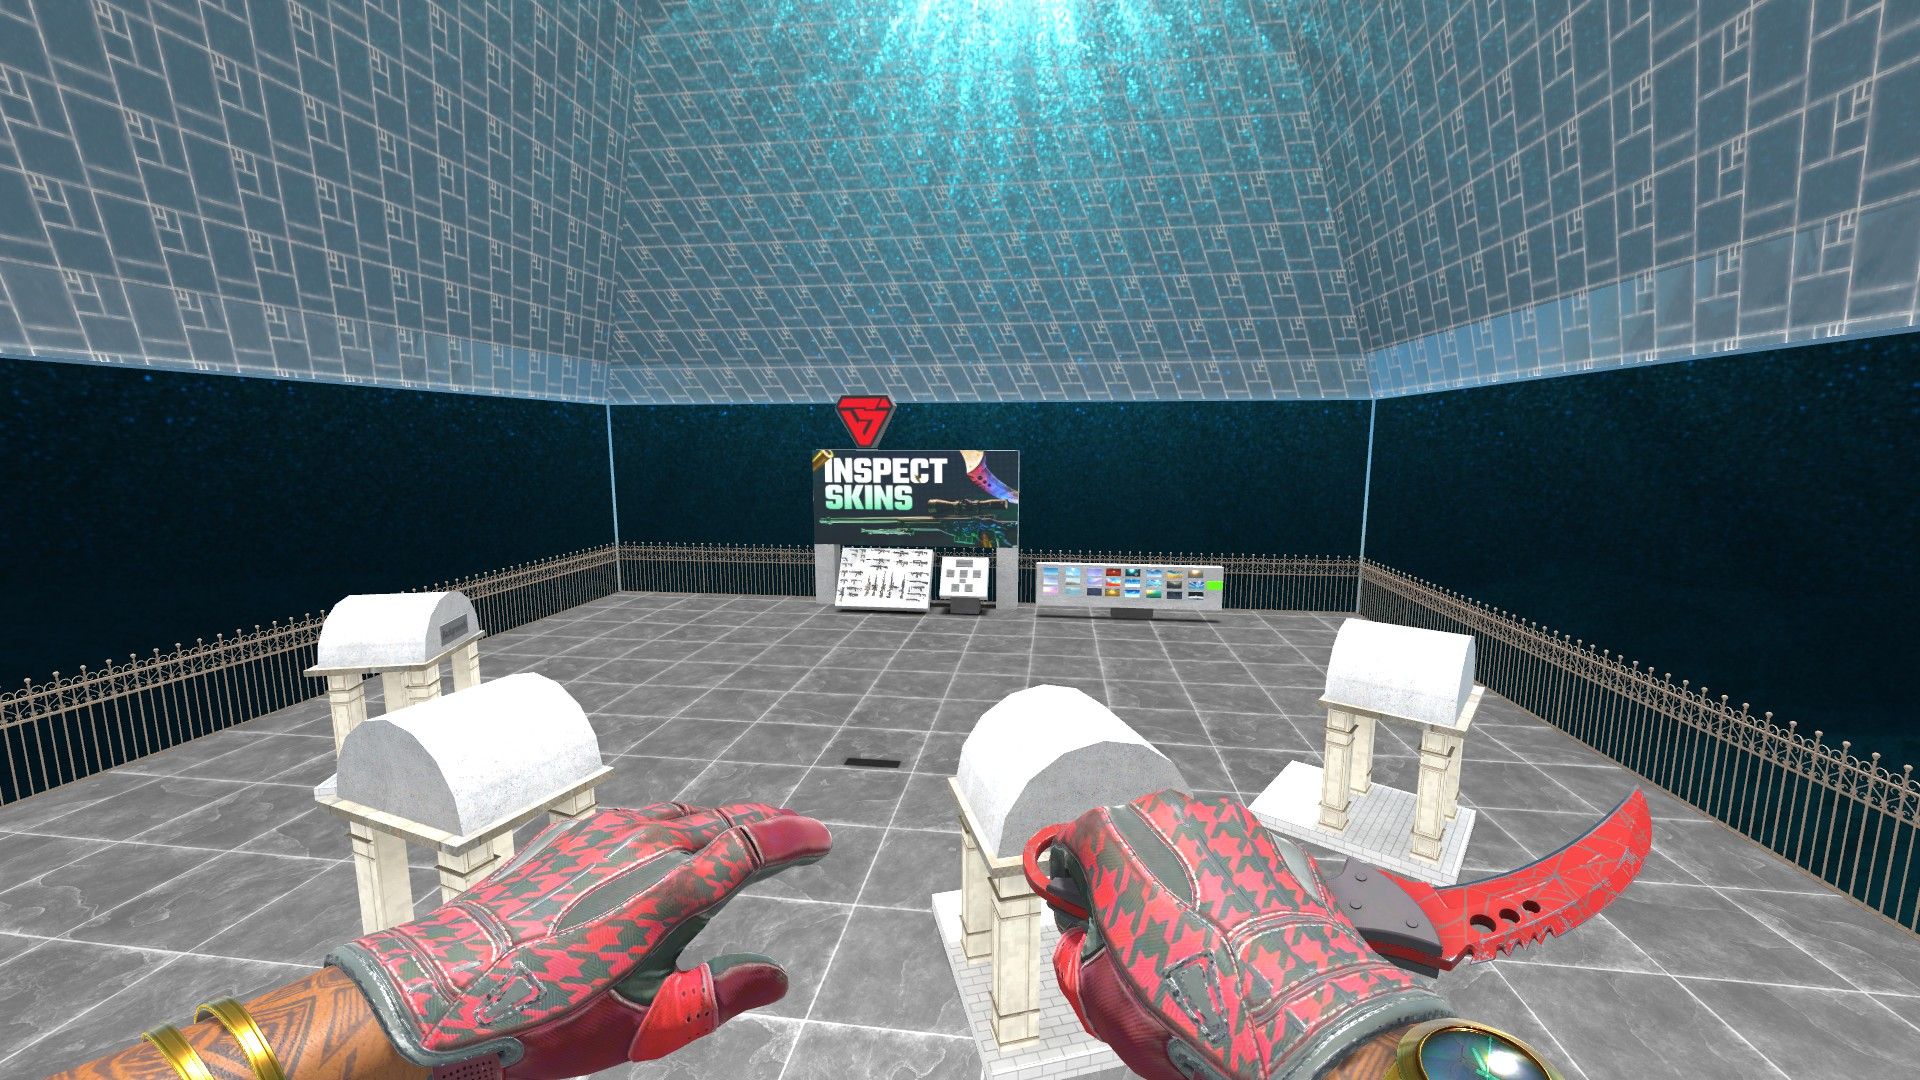
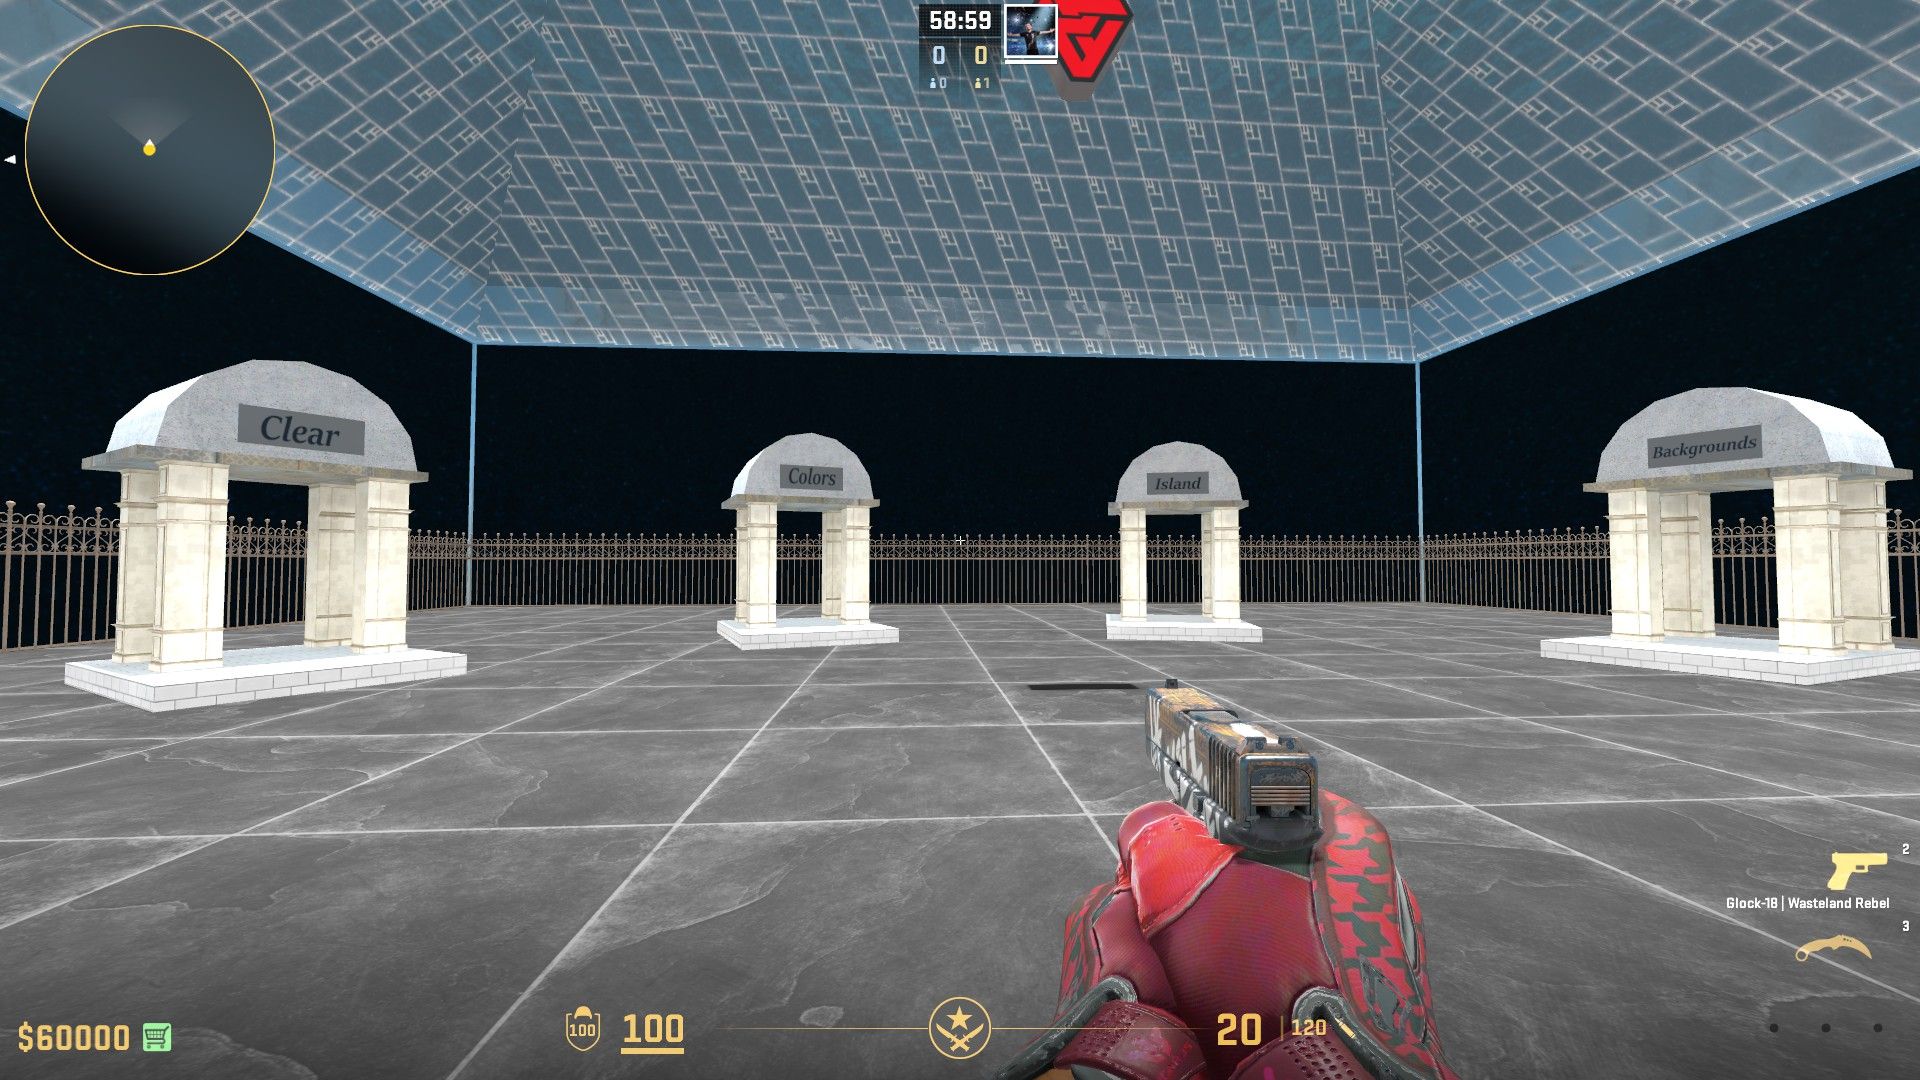
The main lobby of the inspect map has several features. Firstly, the 4 arches each direct you to a section of various backgrounds. We will discuss where each arch takes you shortly.
Along with this, the console directly behind the BitSkins logo features every single gun in CS2. Simply by shooting at any weapon, you will get that weapon in-game.
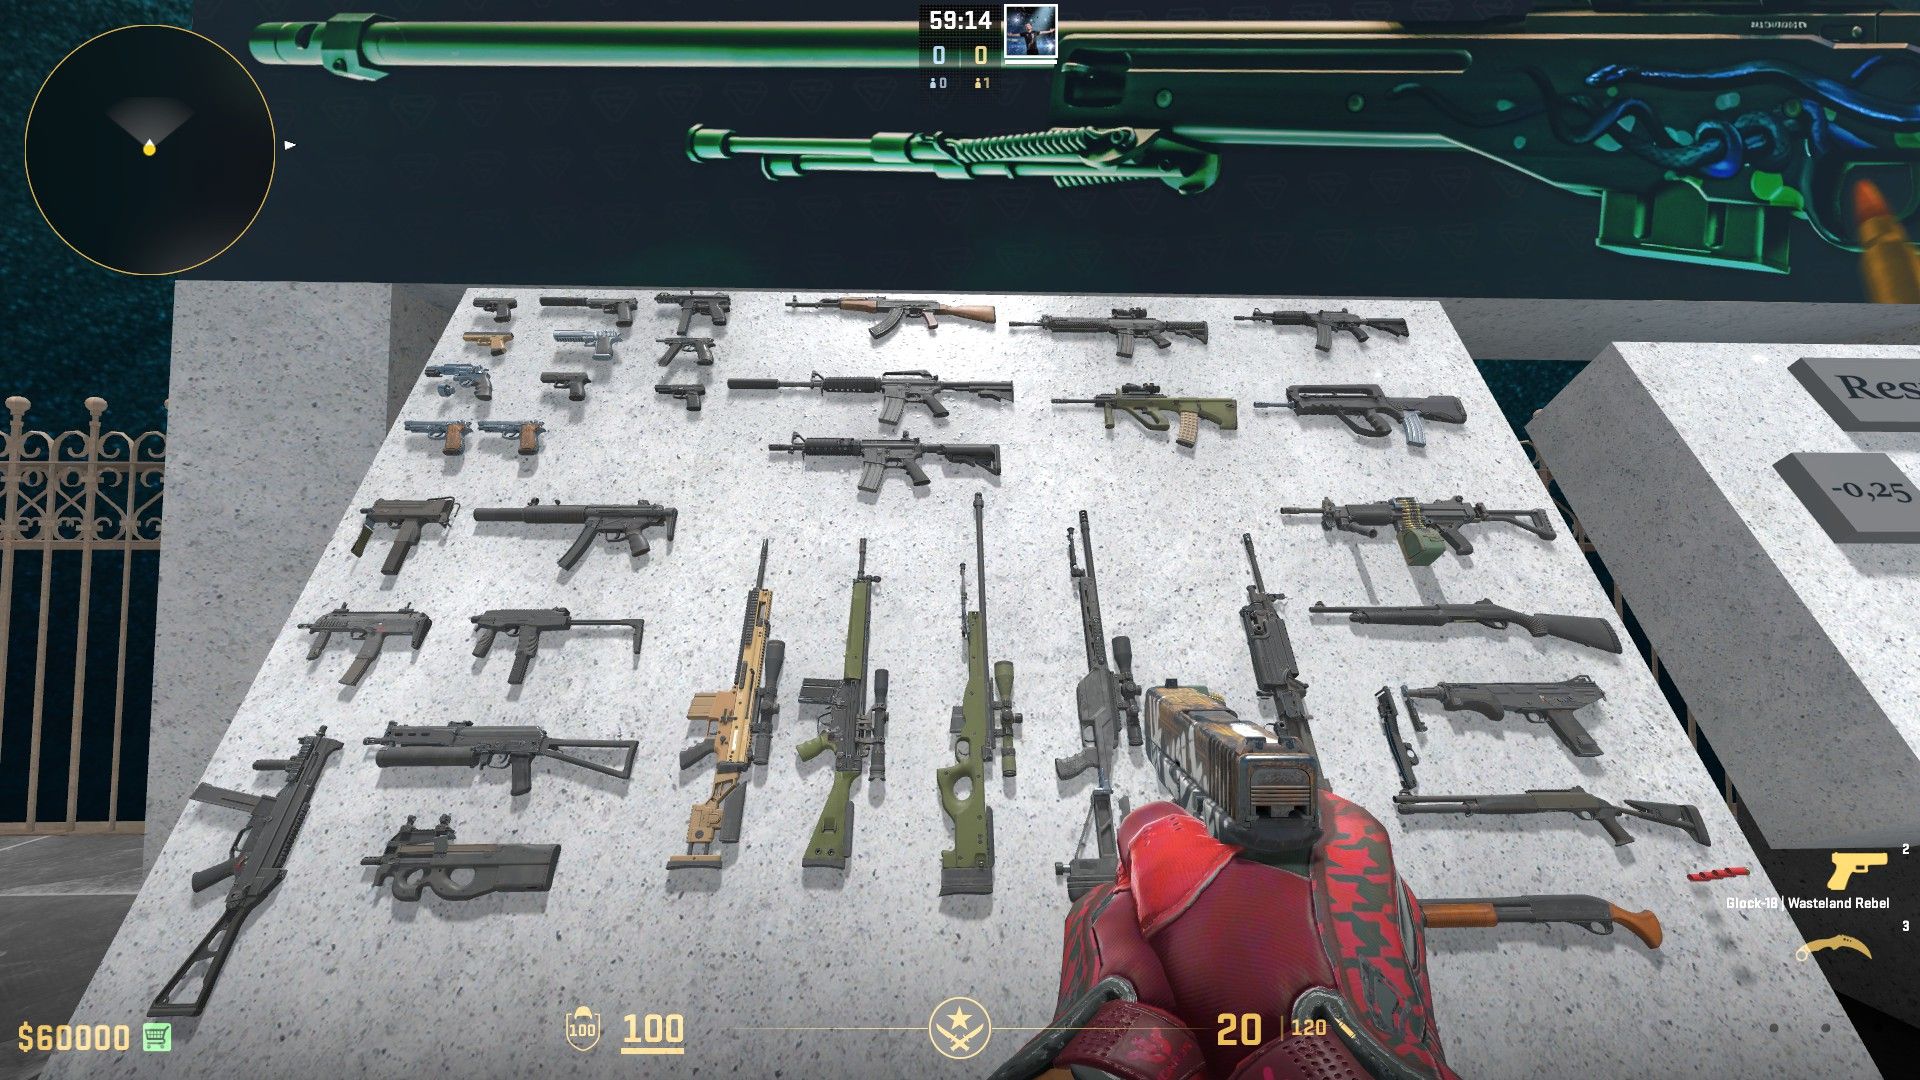
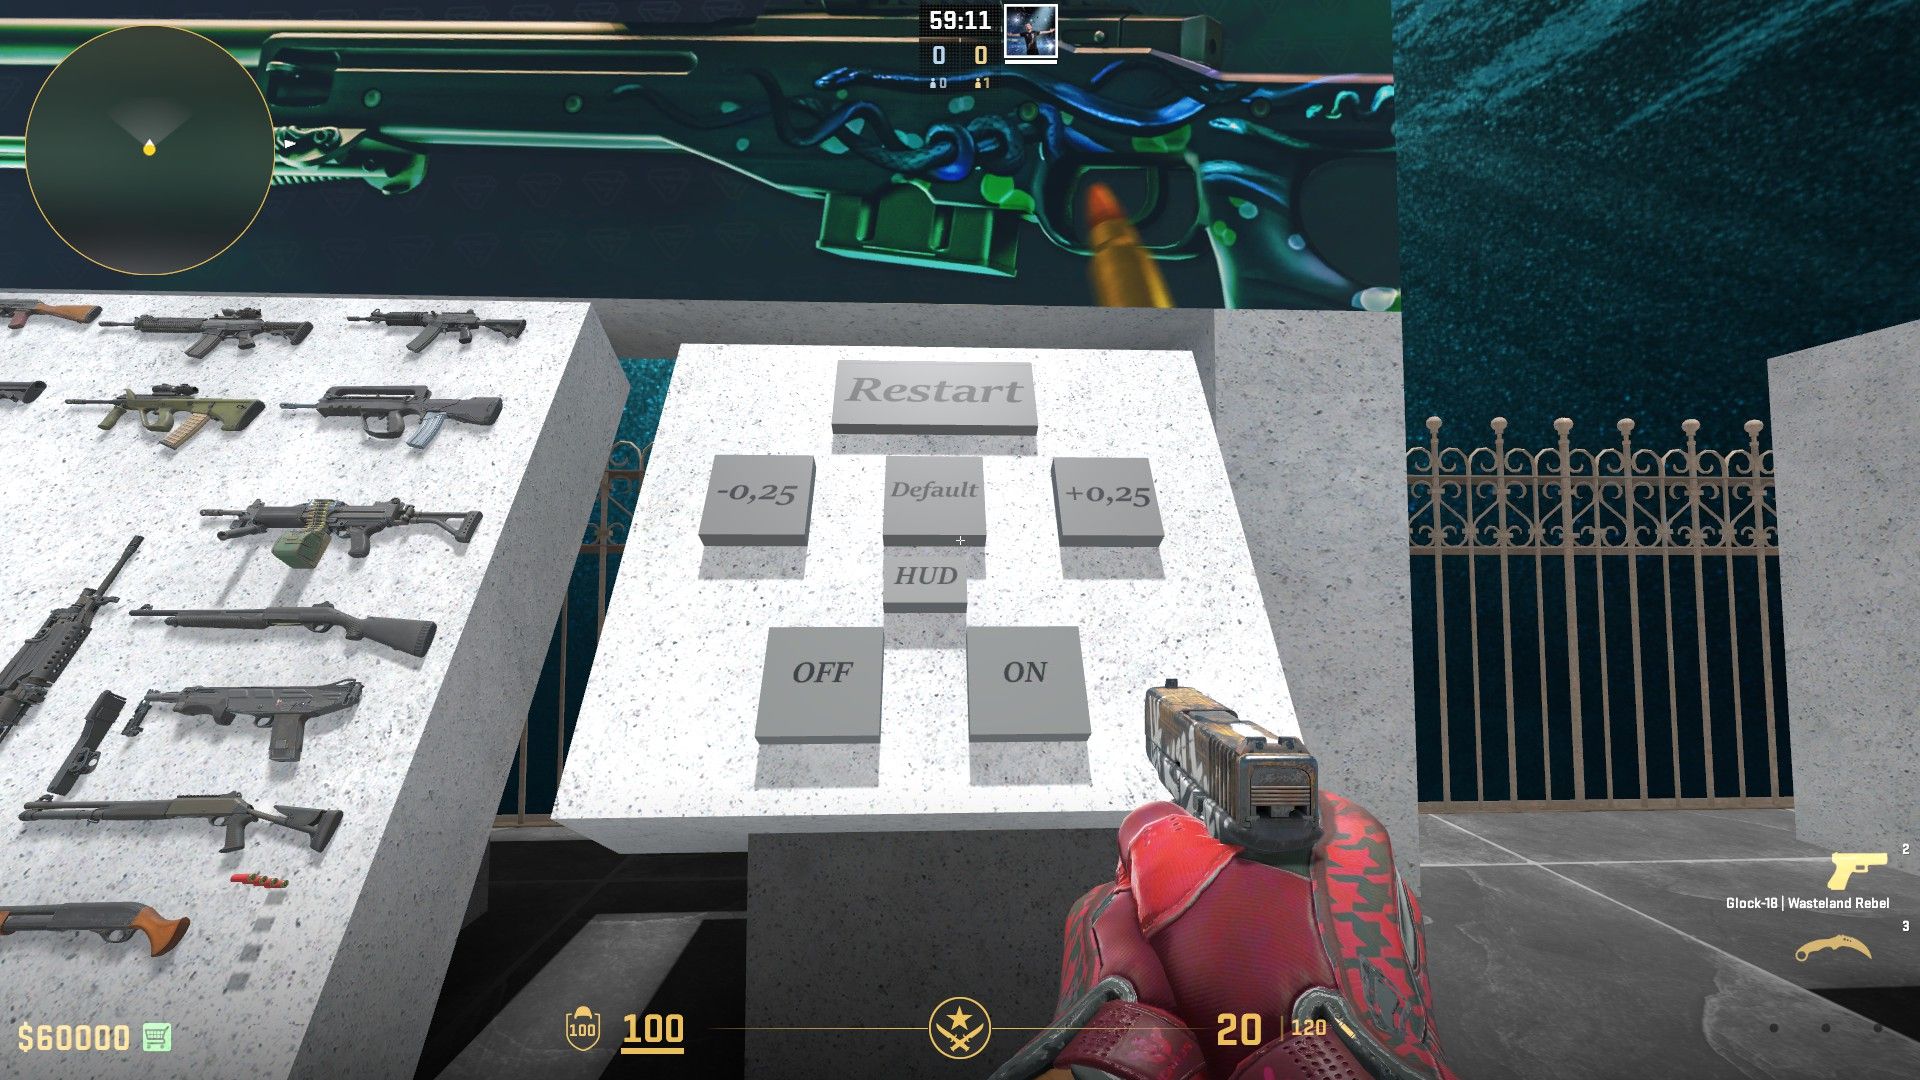
Next to this console is another console that controls the saturation of colors as well as your hud. You can increase and decrease the saturation values of different colors with the +0.25 and -0.25 buttons, and you can use the on and off buttons to turn your HUD...you guessed it...off and on!
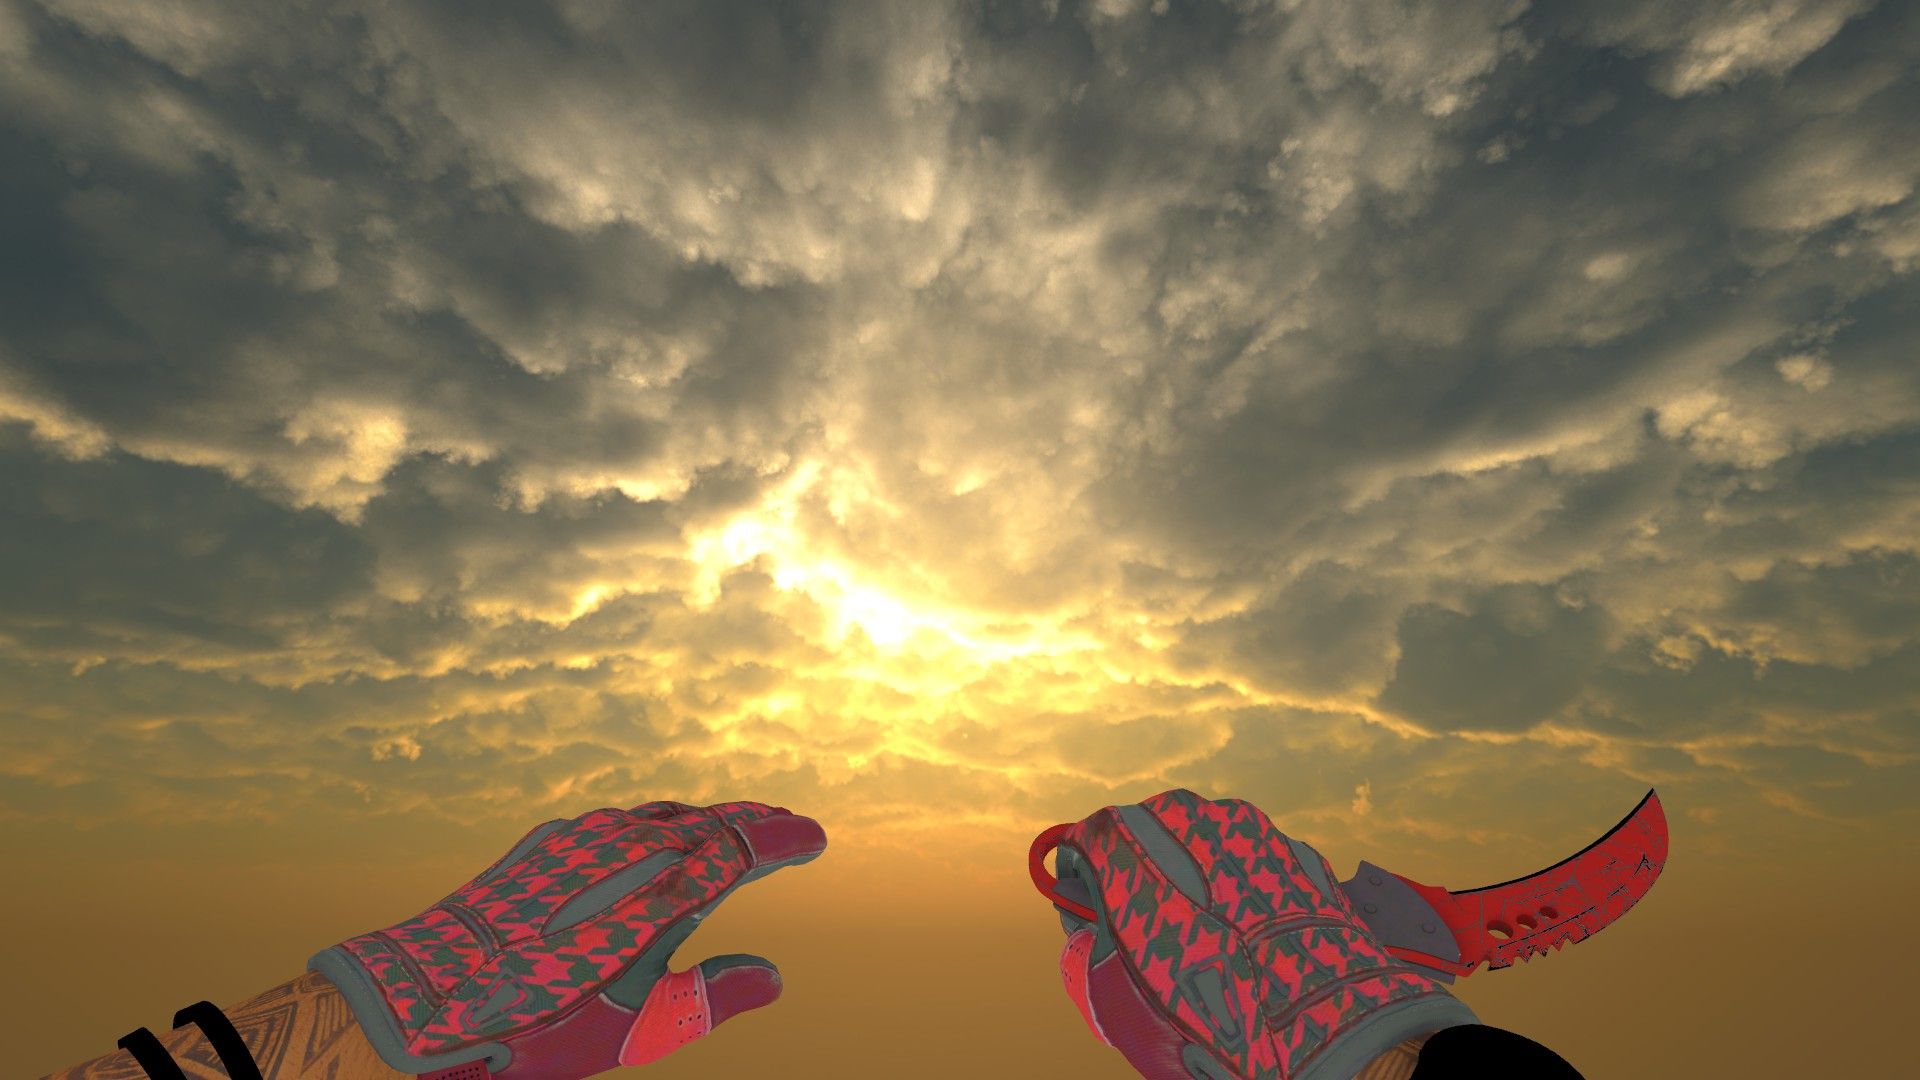
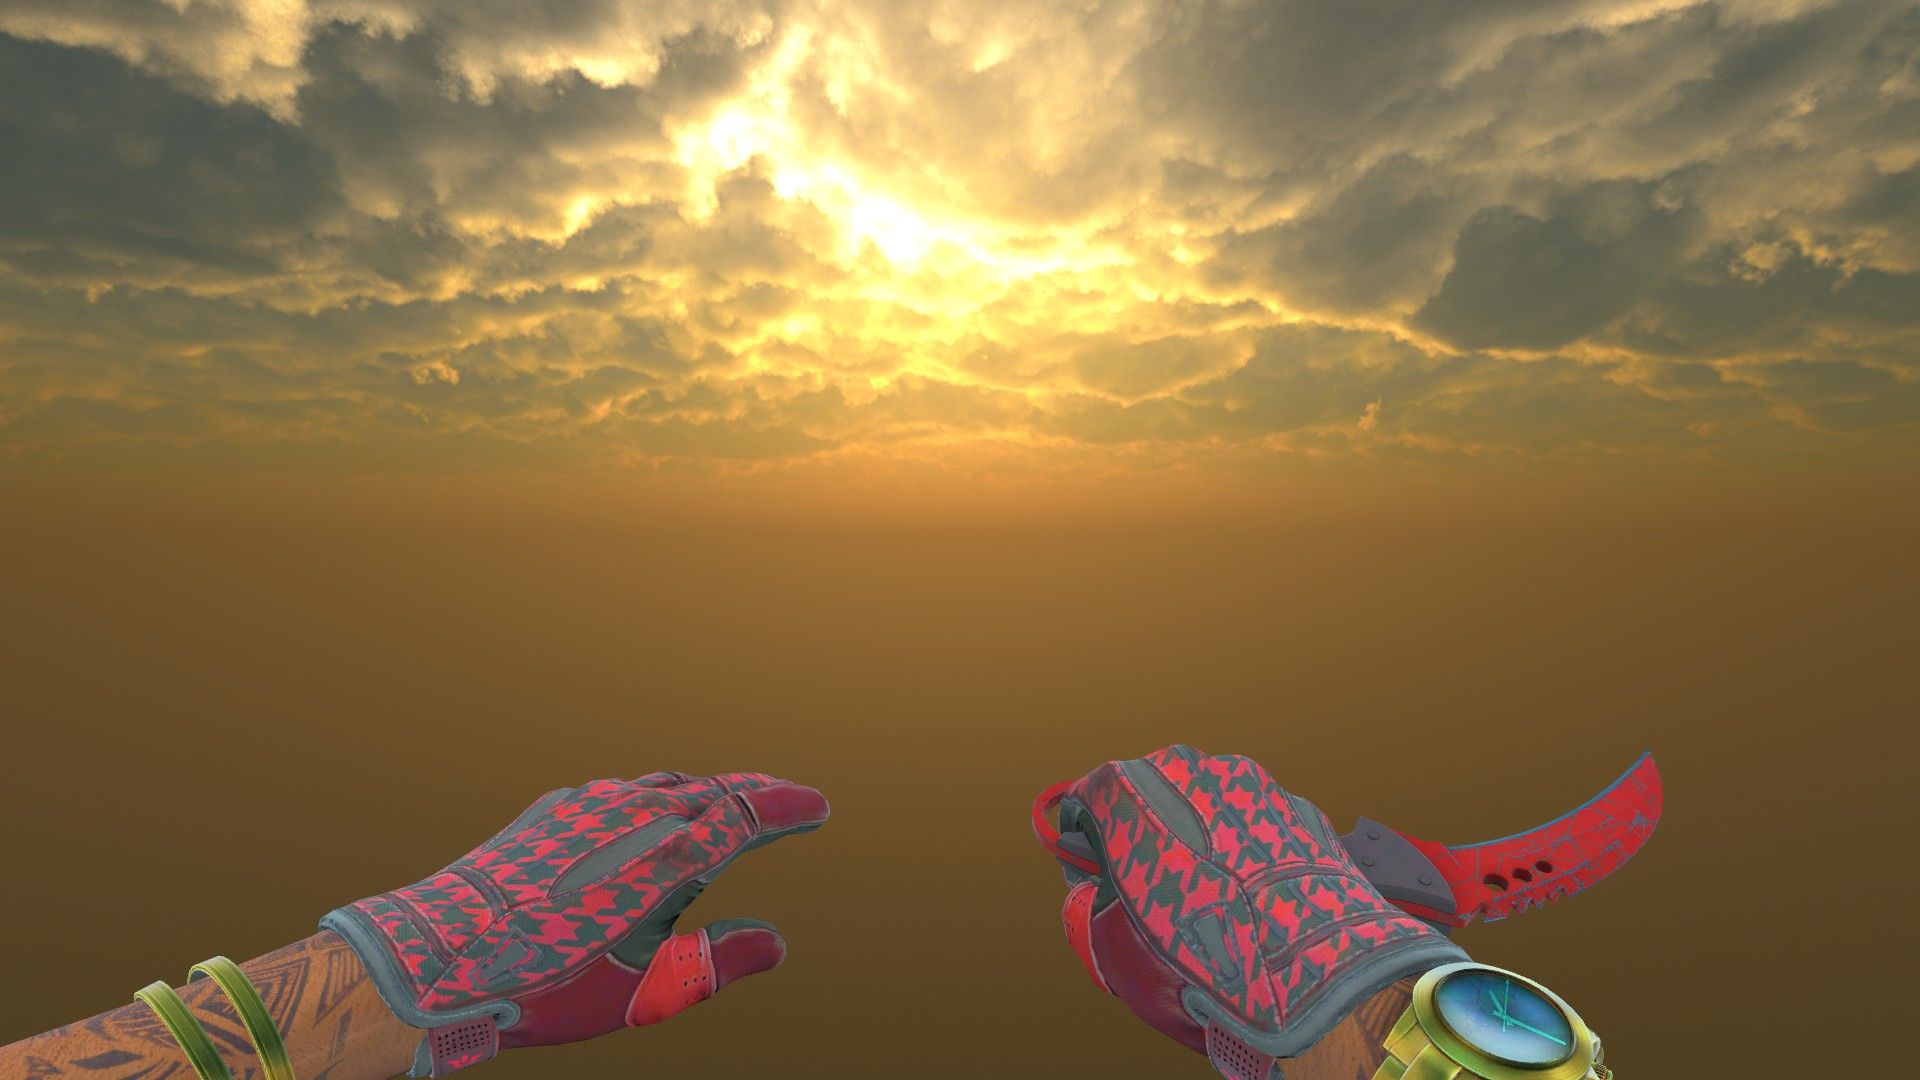
Covering the right half of this wall is an array of various skyboxes that you can set as the background of the lobby. Simply shoot at any of the backgrounds to select it, turn off your hud using the buttons we have provided or a console command, then fly into the distance, and take your screenshot!

Clear
The first arch brings you to exactly what you would expect: an empty space with the same background you selected from the various sky backgrounds in the lobby. You can return to the lobby to change backgrounds by walking onto the white square.
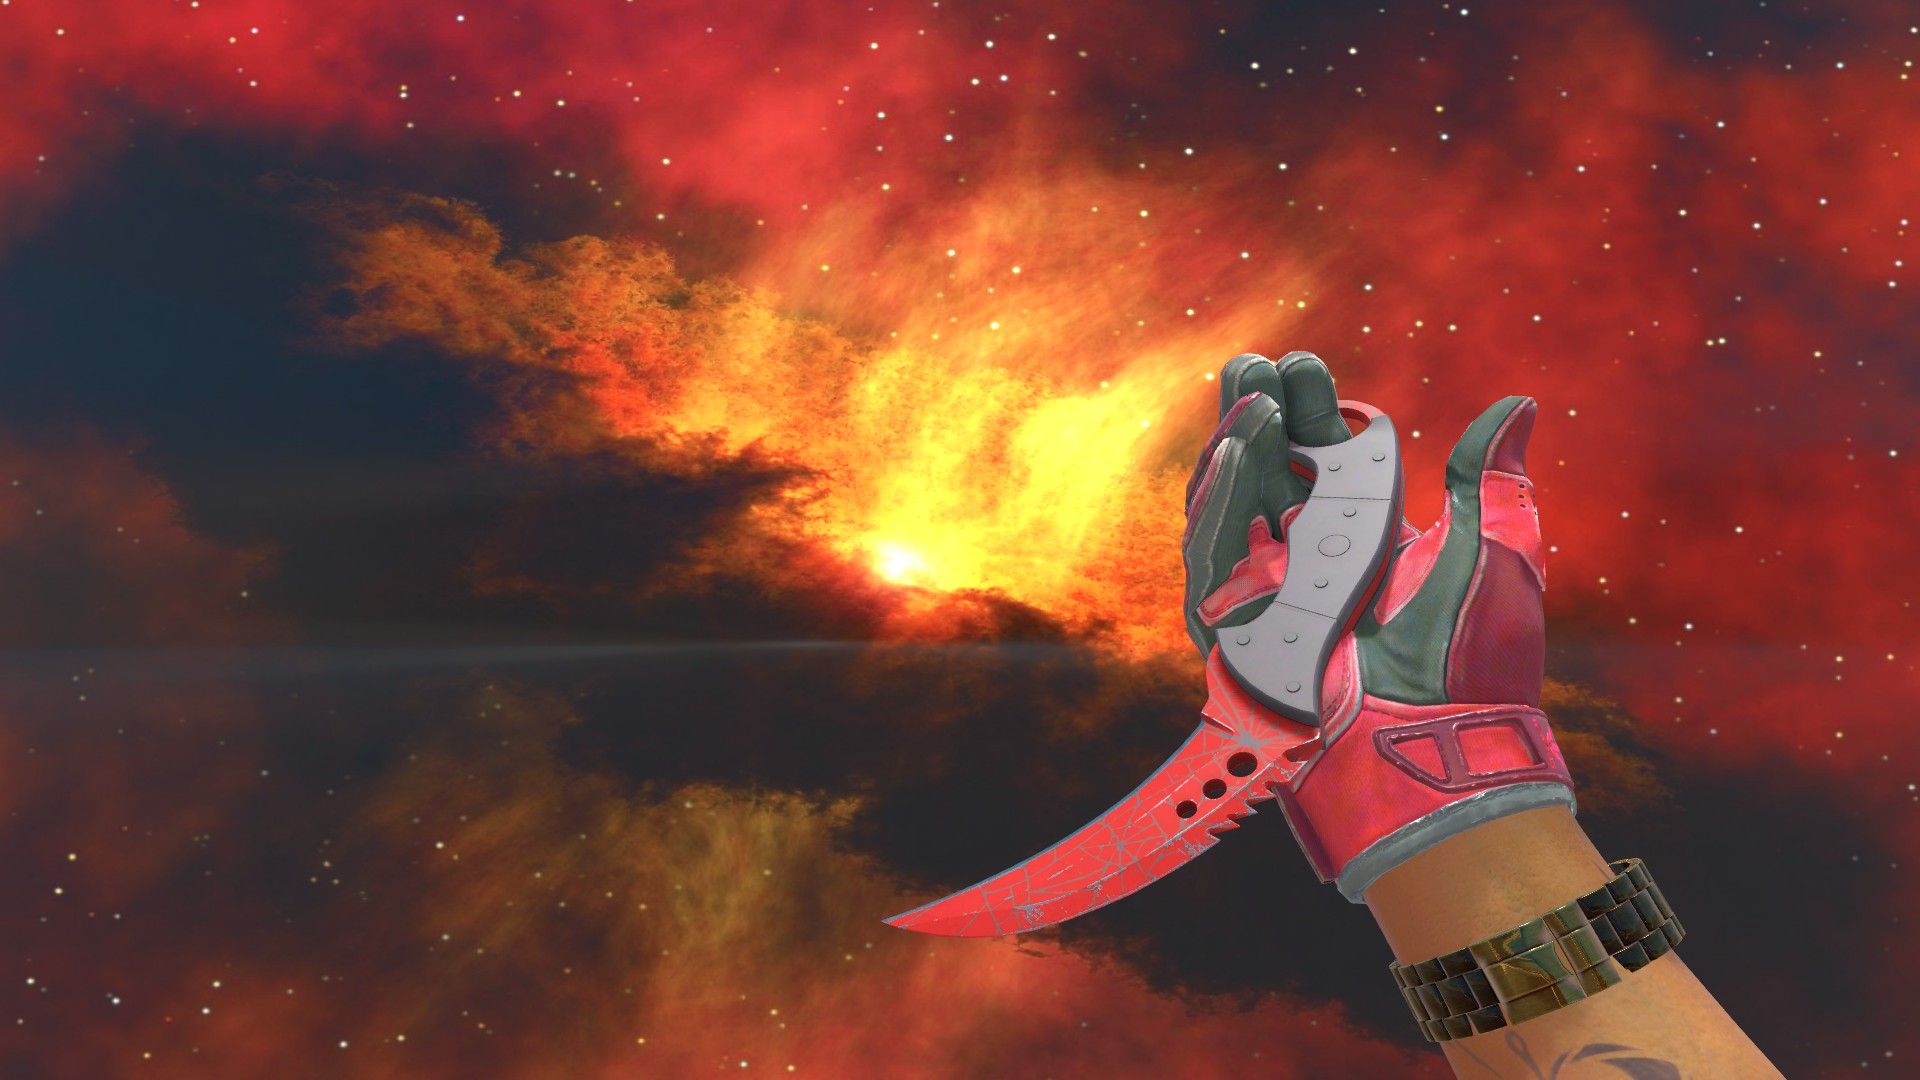
Colors
This next feature allows you to change colors on your background, as well as increase brightness. To use the room, simply select a background, select your colors, and use the brightness values on the left of the colors to change the brightness of the screenshot.
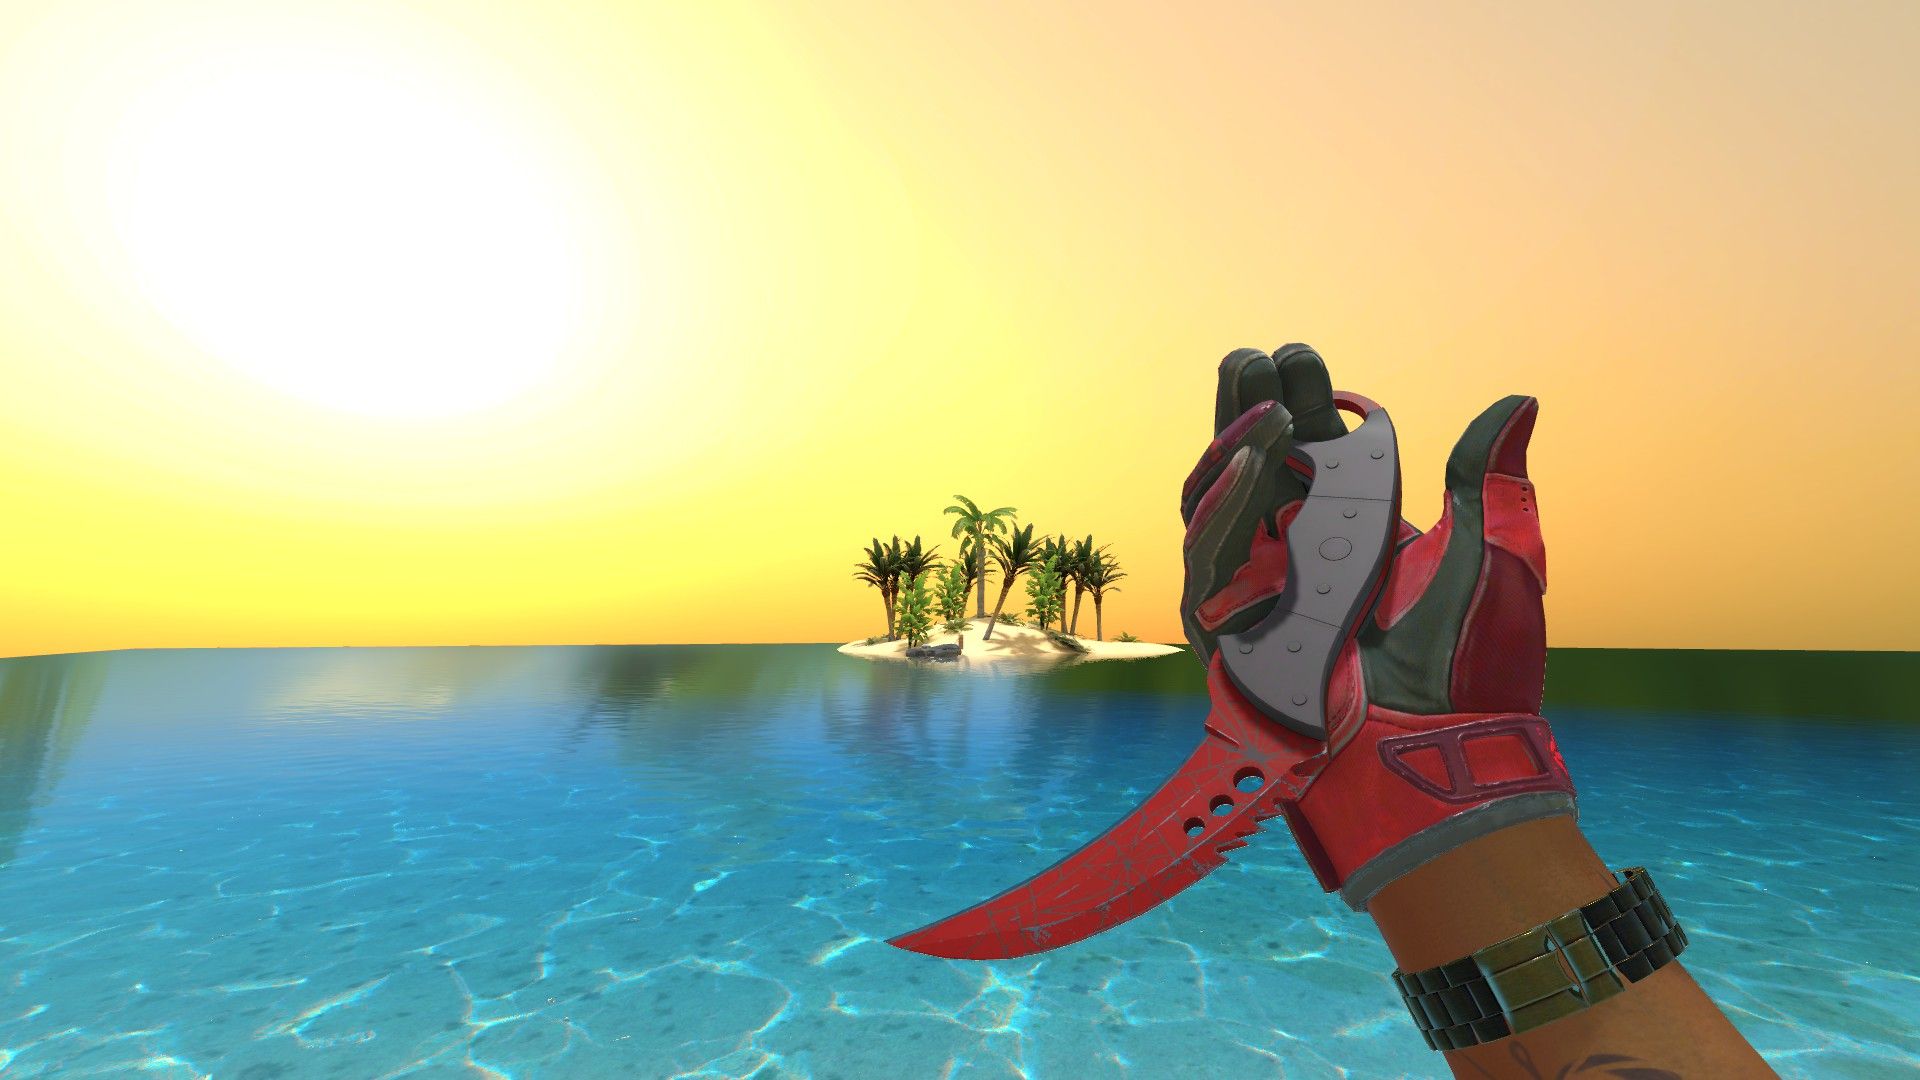
Island
This next arch brings you to a simple, yet beautiful, island where you can take screenshots of one of the most impressive backgrounds out there. Enjoy the peaceful water flow, beautiful trees, and flawless skins!
Screenshot Backgrounds
Now, we have reached the pride and joy of this map: 48 individual backgrounds crafted so that there is one that will be perfect for every skin. Just pick one of the incredible backgrounds, go up the stairs until you are centered correctly, turn off your HUD, and enjoy a perfect inspect/screenshot scene.